Skintone Toolset Spotlight: Perfect Skintones for Every Edit
It happens to all of us. You find the perfect preset for your photos, but something still feels off about your subject's skintone. You try the HSL sliders, adjust white balance, and use masks to repair green bounce, but it's still not right.
That's where the Skintone Toolset comes in.
It's a dedicated system for bringing skin back into balance. Skin is one of the most technically demanding elements in portrait editing. Small shifts in light or white balance can throw a complexion off, and no two subjects start from the same place.
The toolset includes tone-matched enhancement presets, modifiers, and skin softening. It covers complexions from fair to ebony and repairs ashen, washed-out, uneven, and ruddy skintones. The goal is consistency and richness: skin that looks like itself, just better.
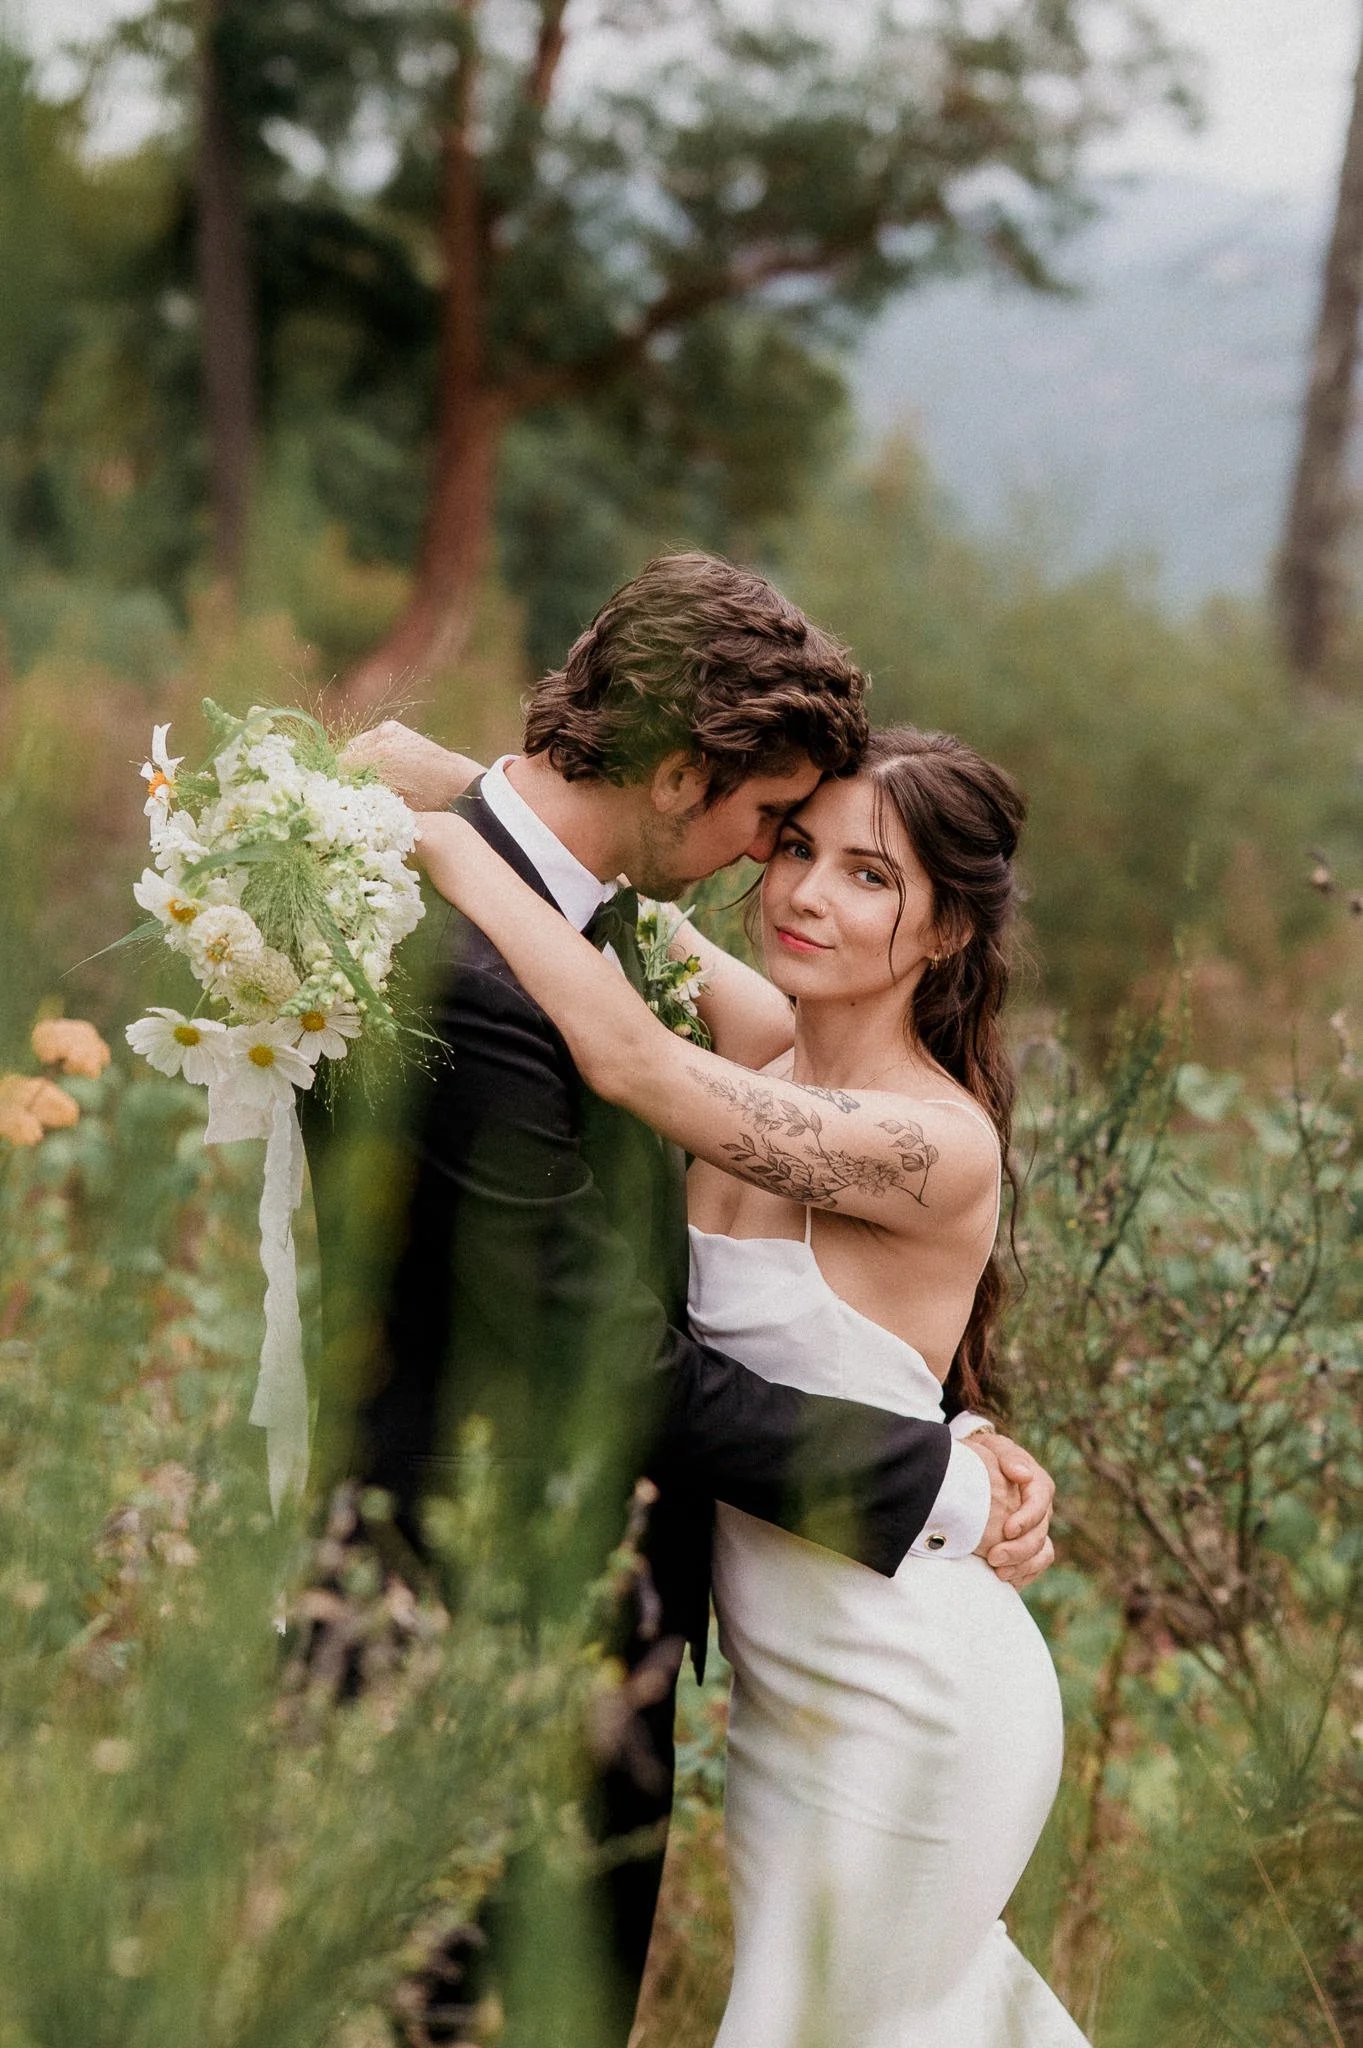
Image by Dylaina Photography
Edited with Quest 23 Odeon and Quest Tools 13 - Skintone Toolset
6 Complexion Baselines
Six tone-matched presets establish a clean, even baseline across a range of complexions. Each is calibrated to its own tonal range, bringing washed-out or uneven skin back to a natural, consistent starting point before you make any further adjustments.
Choose from Fair | Beige | Olive | Bronze | Mocha | Ebony
Use the preset amount slider to strengthen the effect of a complexion base, or lower it if you only need a light correction.
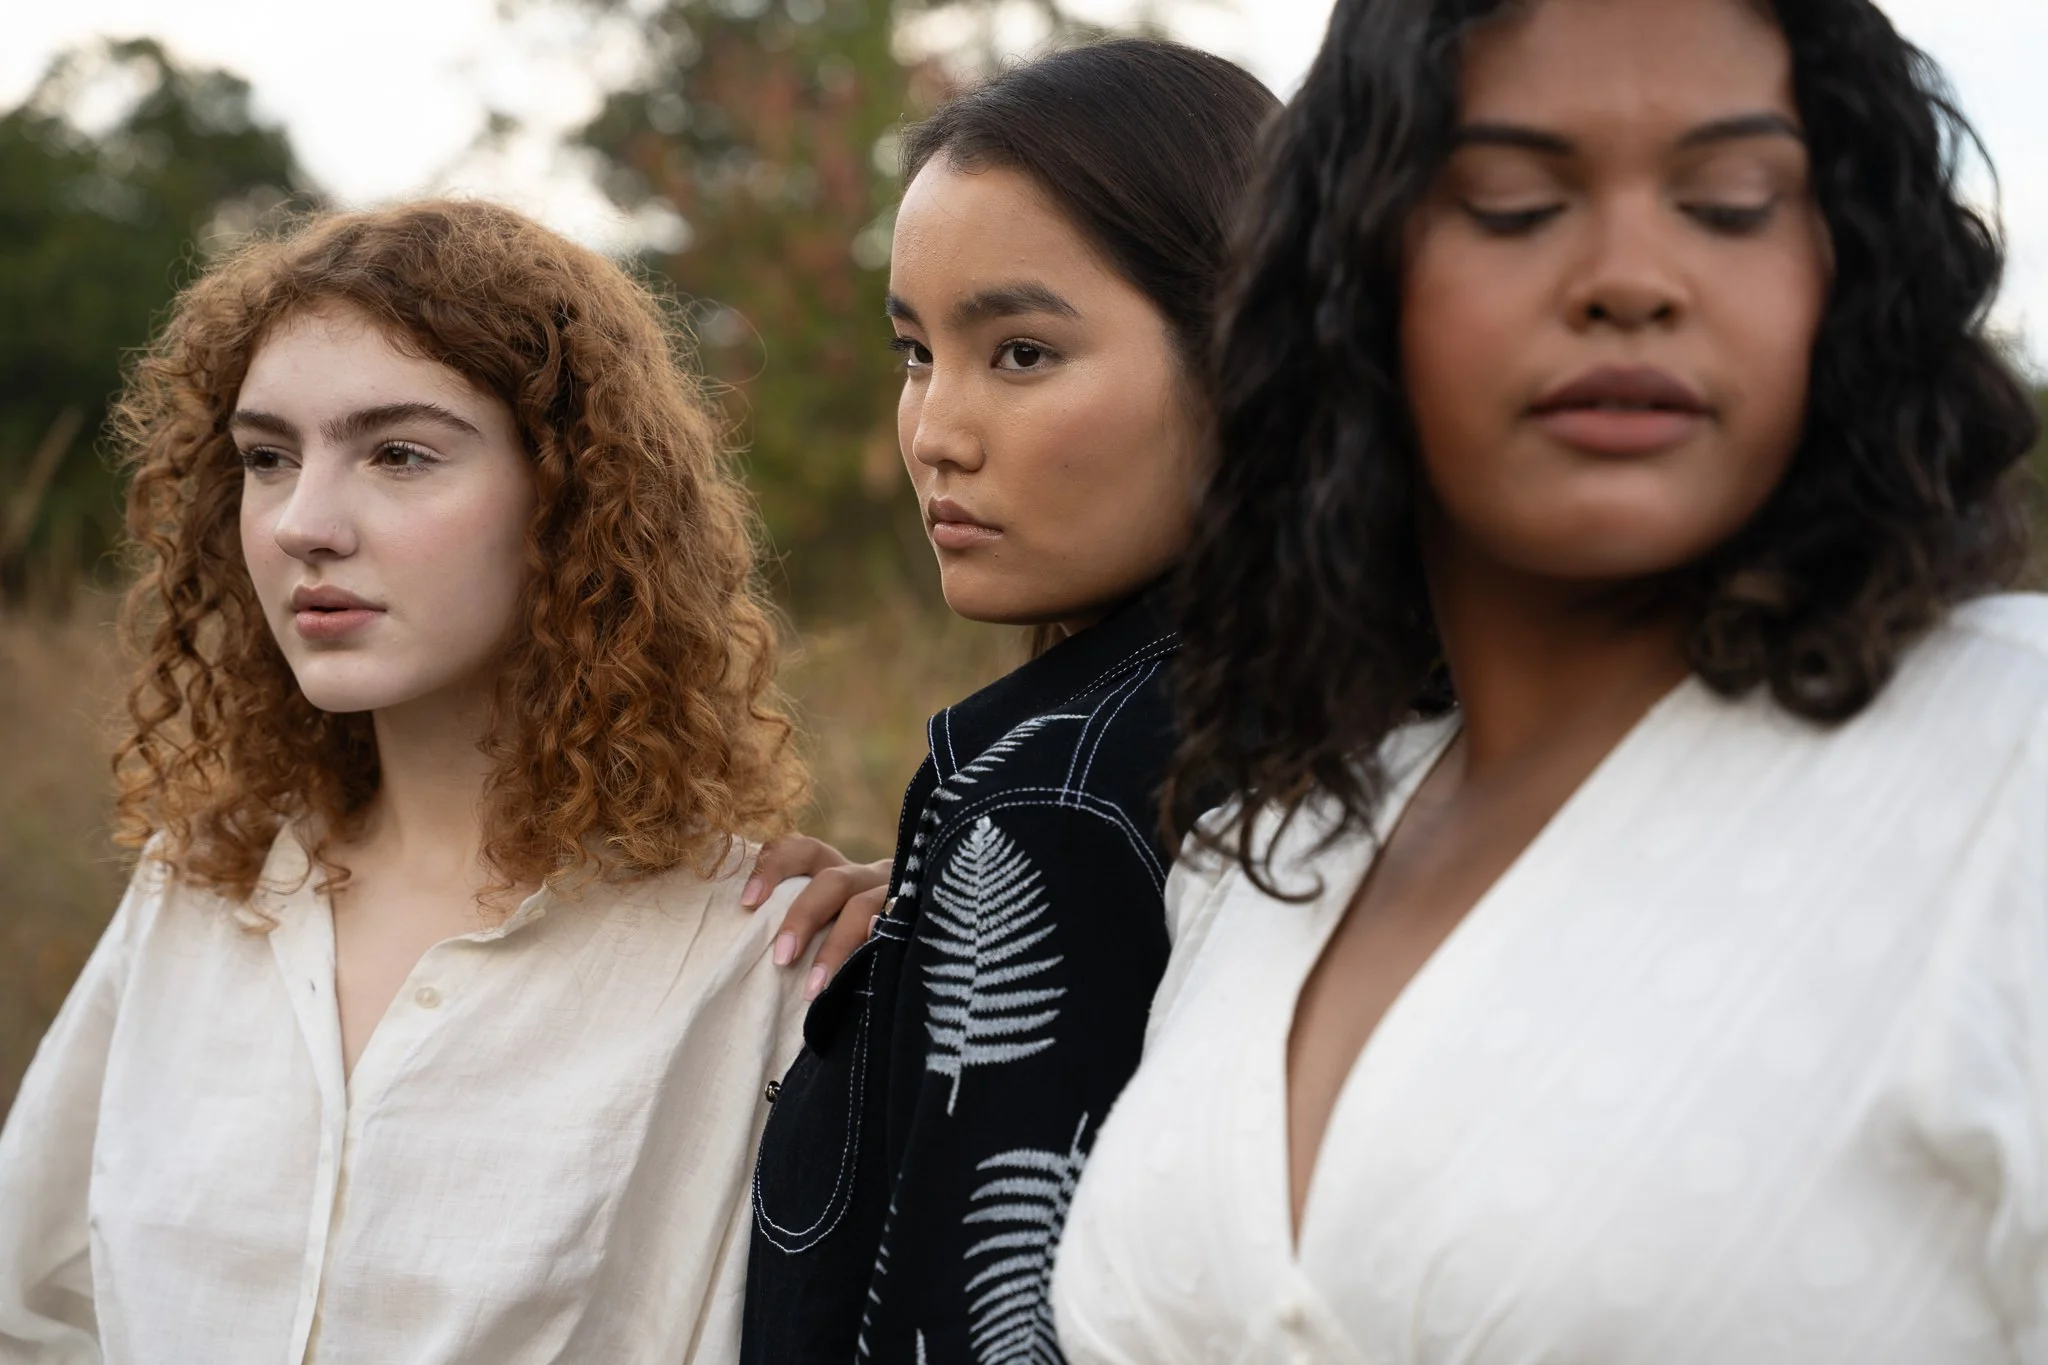
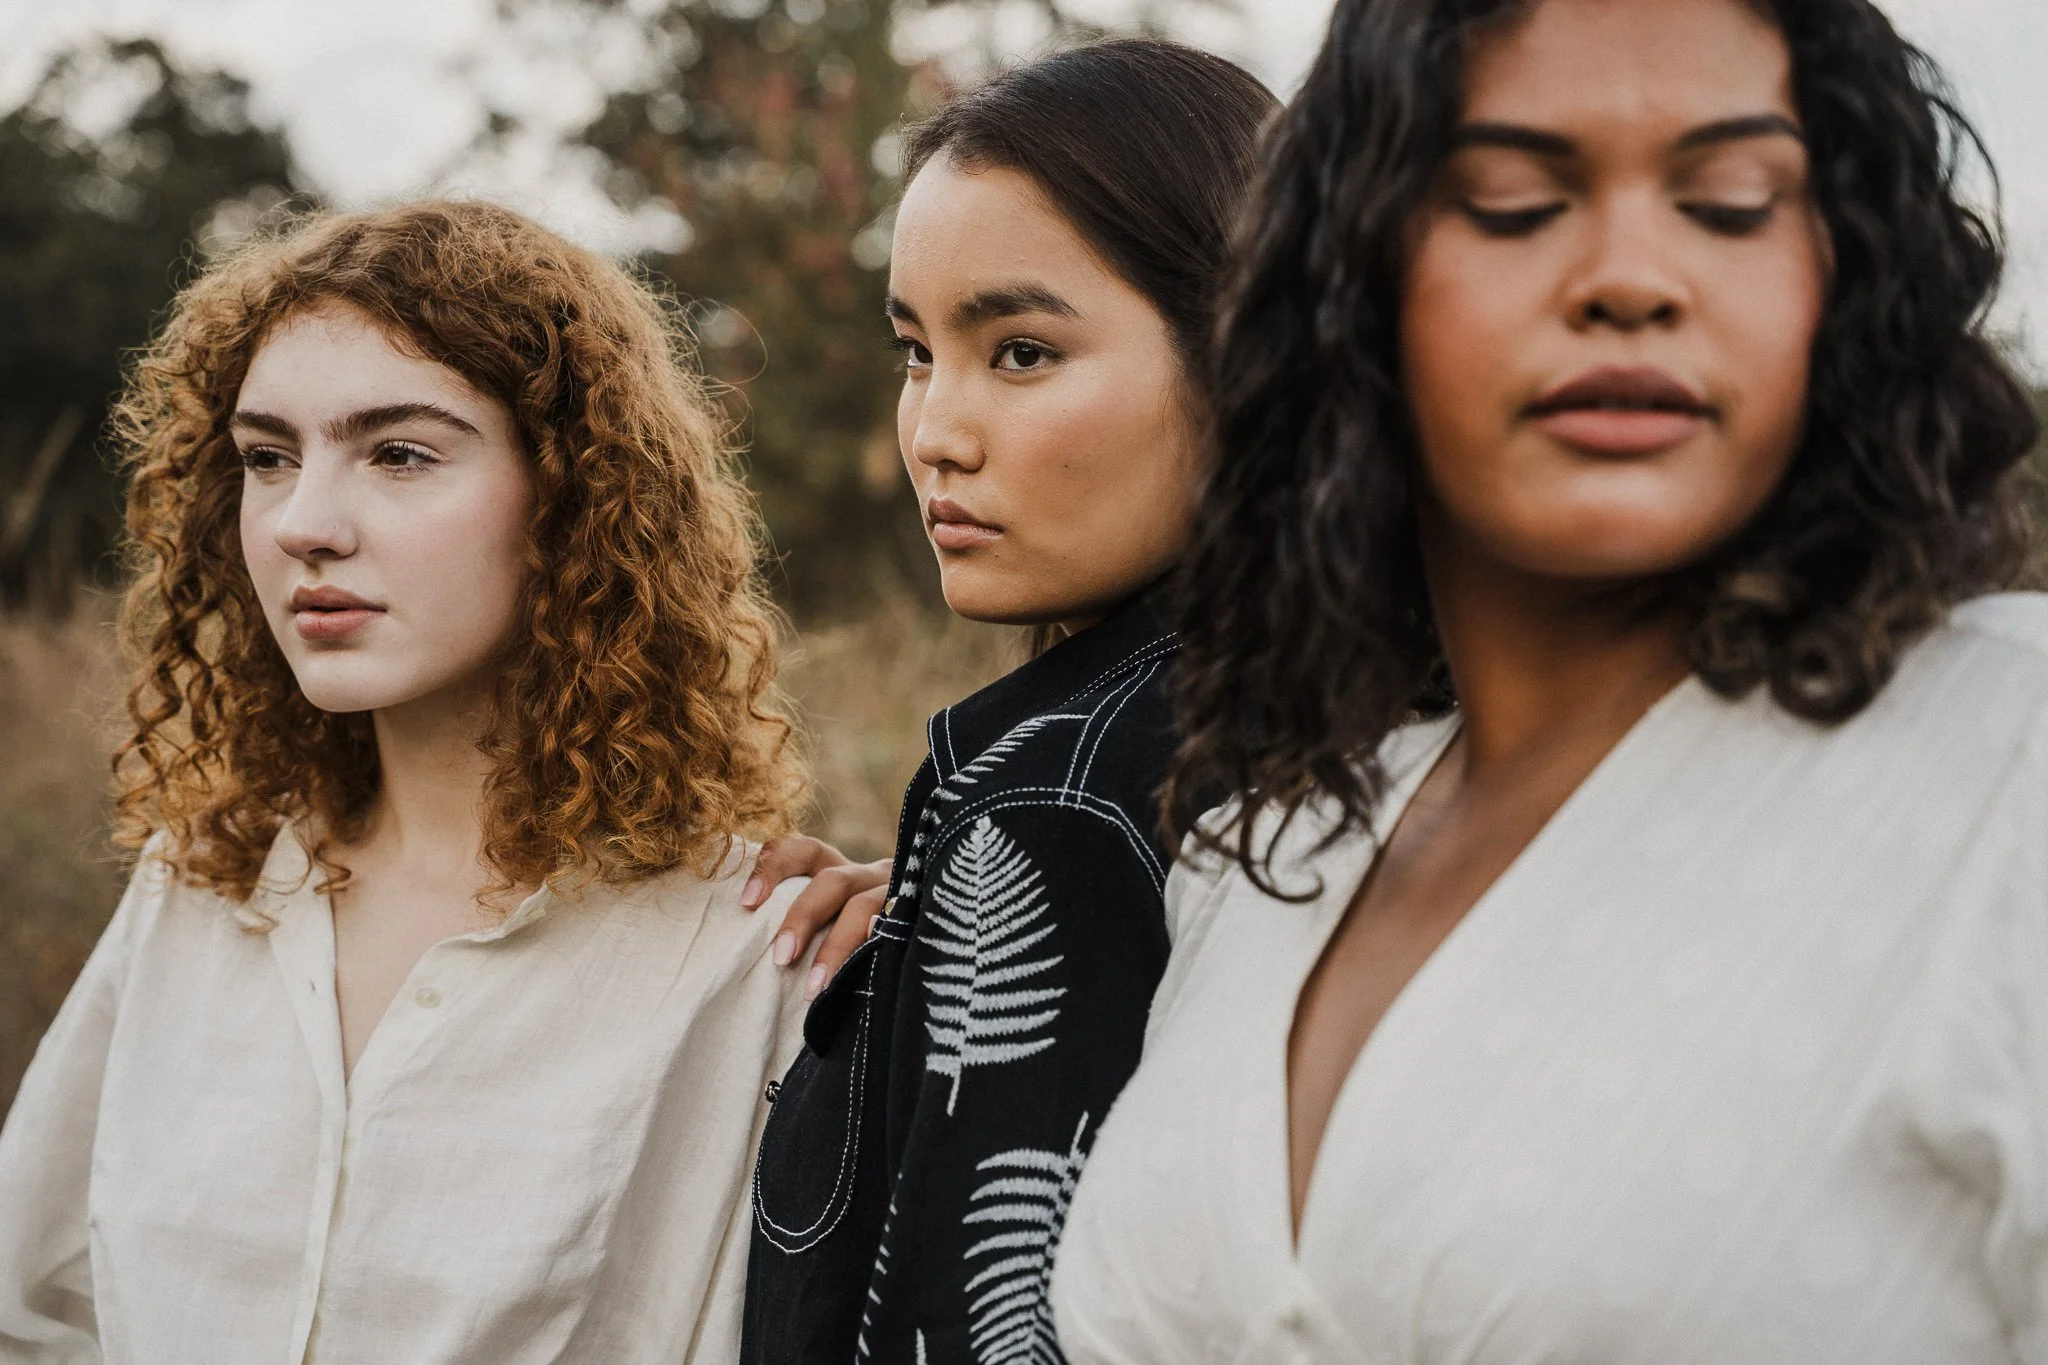
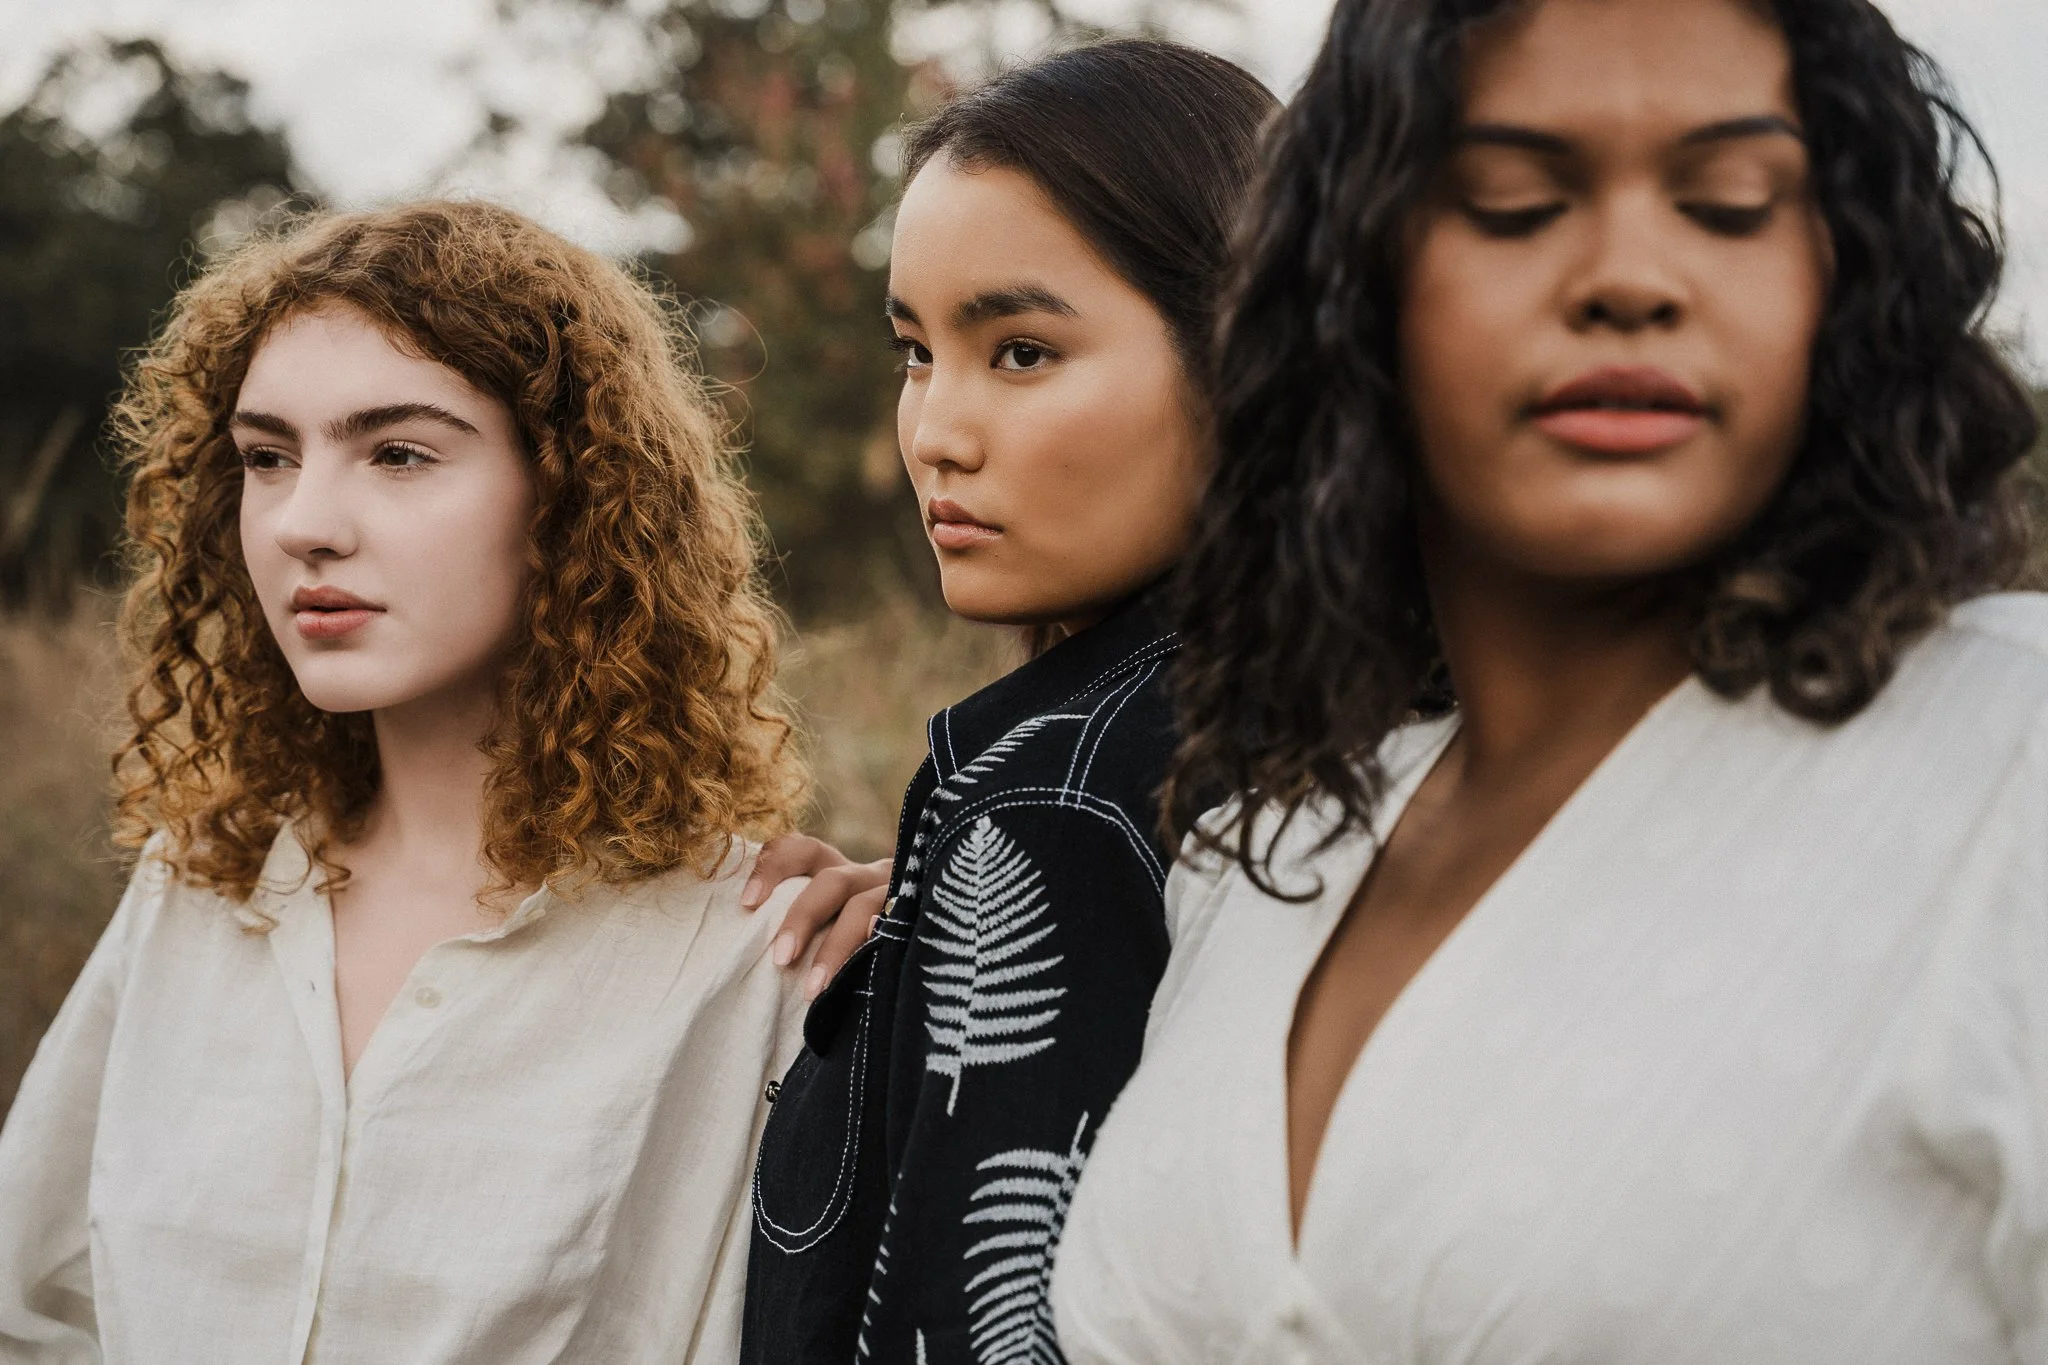
Image by Sarah Adler of Mother & Wild
Edited with Quest 32 Zalea and Quest Tools 13 - Skintone Toolset
Tip: When a photo includes subjects with different skintones, use Lightroom's masking panel to apply the right base to each person. Choose Subtract → Select People in each mask to remove it from the subjects it doesn't match. In the image above, three complexion bases were applied and subtracted from the people they didn't correspond to. From left to right, they are Fair, Bronze, and Mocha. Other tools from the Skintone Toolset, such as Soften +, were also used.
Image by Bernadeta Kupiec
Click to Enlarge
Image by Bernadeta Kupiec
Edited with Quest 36 Botanica
Click to Enlarge
Image by Bernadeta Kupiec
Edited with Quest 36 Botanica and Quest Tools 13 - Skintone Toolset
Click to Enlarge
9 Modifier Presets
After applying a complexion base, fine-tune your edit with nine targeted modifier presets. You can also use them on their own. Warm or cool the shade, lift or pull back saturation, correct an unwanted tint, add punch where skin looks flat, or balance the lips against the rest of the complexion. Each works in small, controllable steps.
Choose from Balance Lips| Shade −/+ | Sat −/+ | Tint −/+ | Punch −/+
Image by Elsa Eileen Photography
Click to Enlarge
Image by Elsa Eileen Photography
Edited with Quest 61 Ombra
Click to Enlarge
Image by Elsa Eileen Photography
Edited with Quest 61 Ombra and Quest Tools 13 - Skintone Toolset
Click to Enlarge
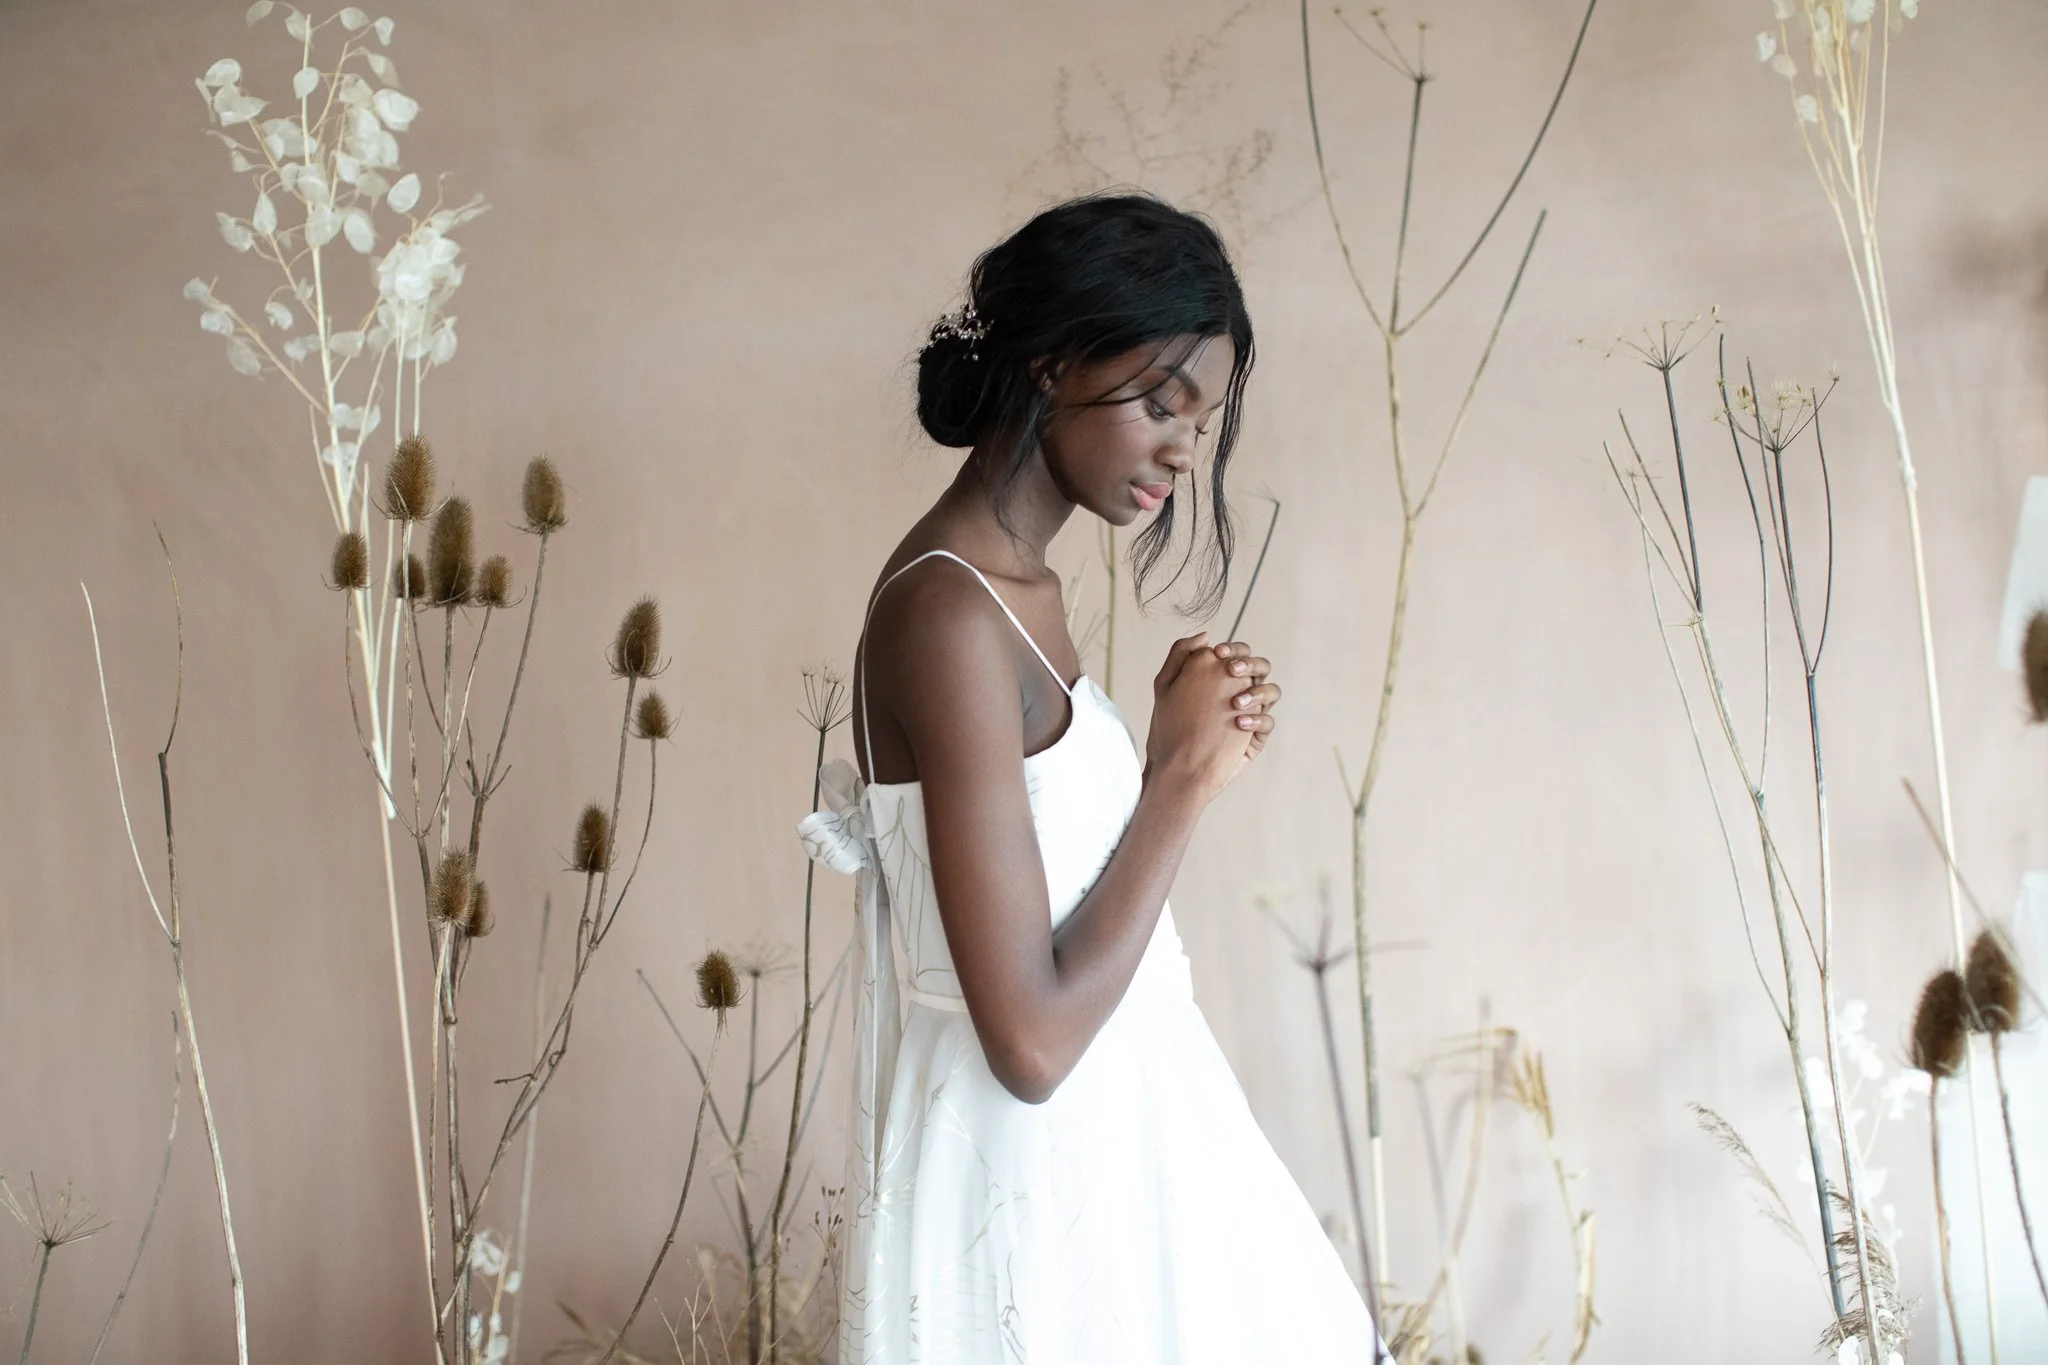
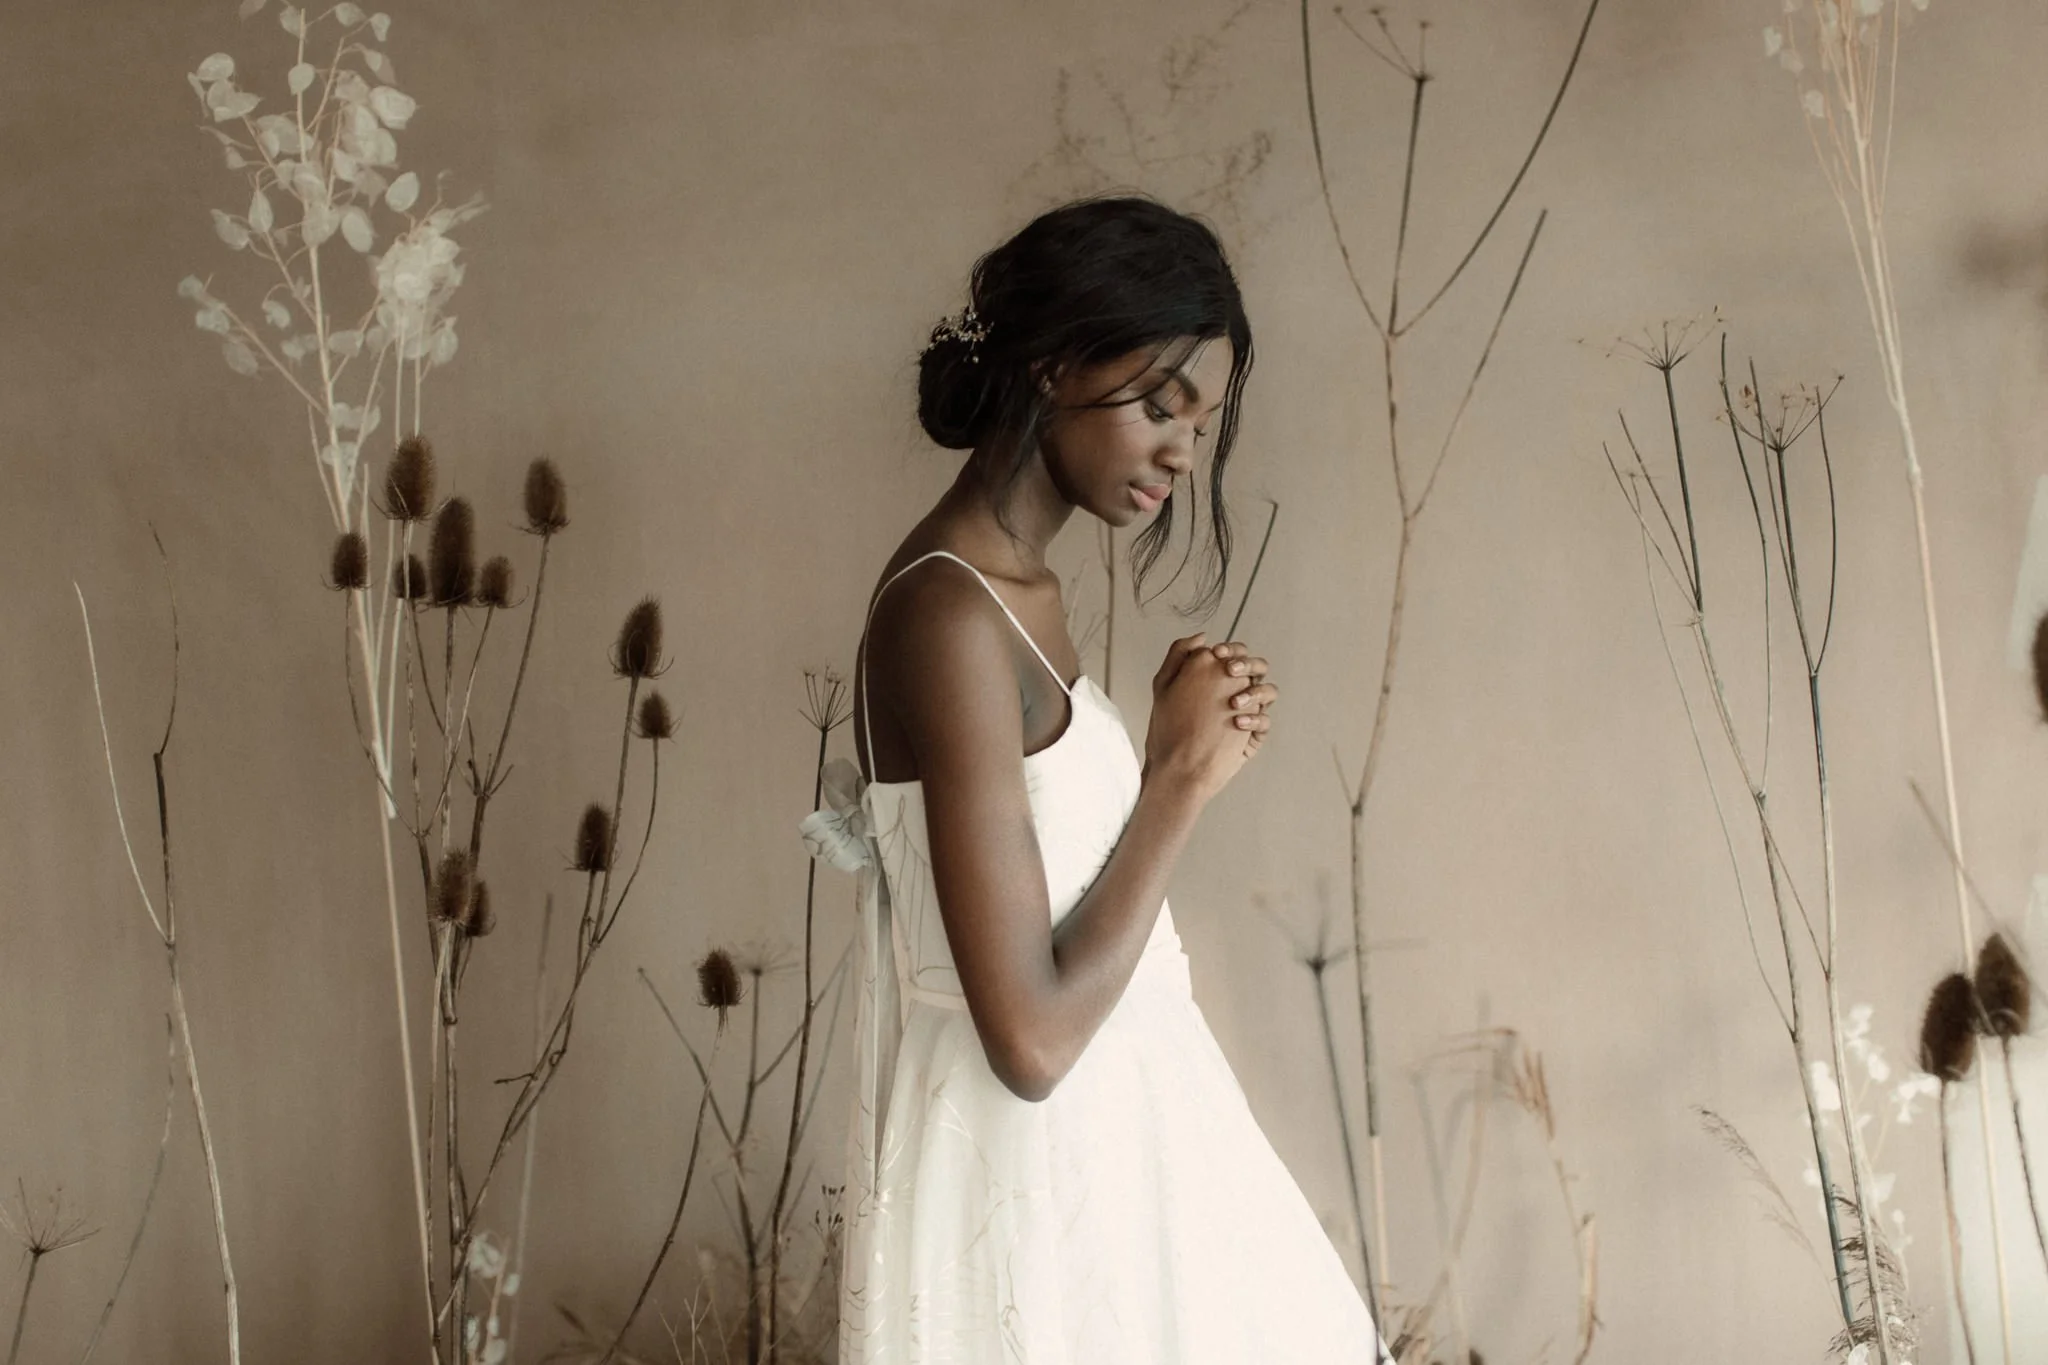
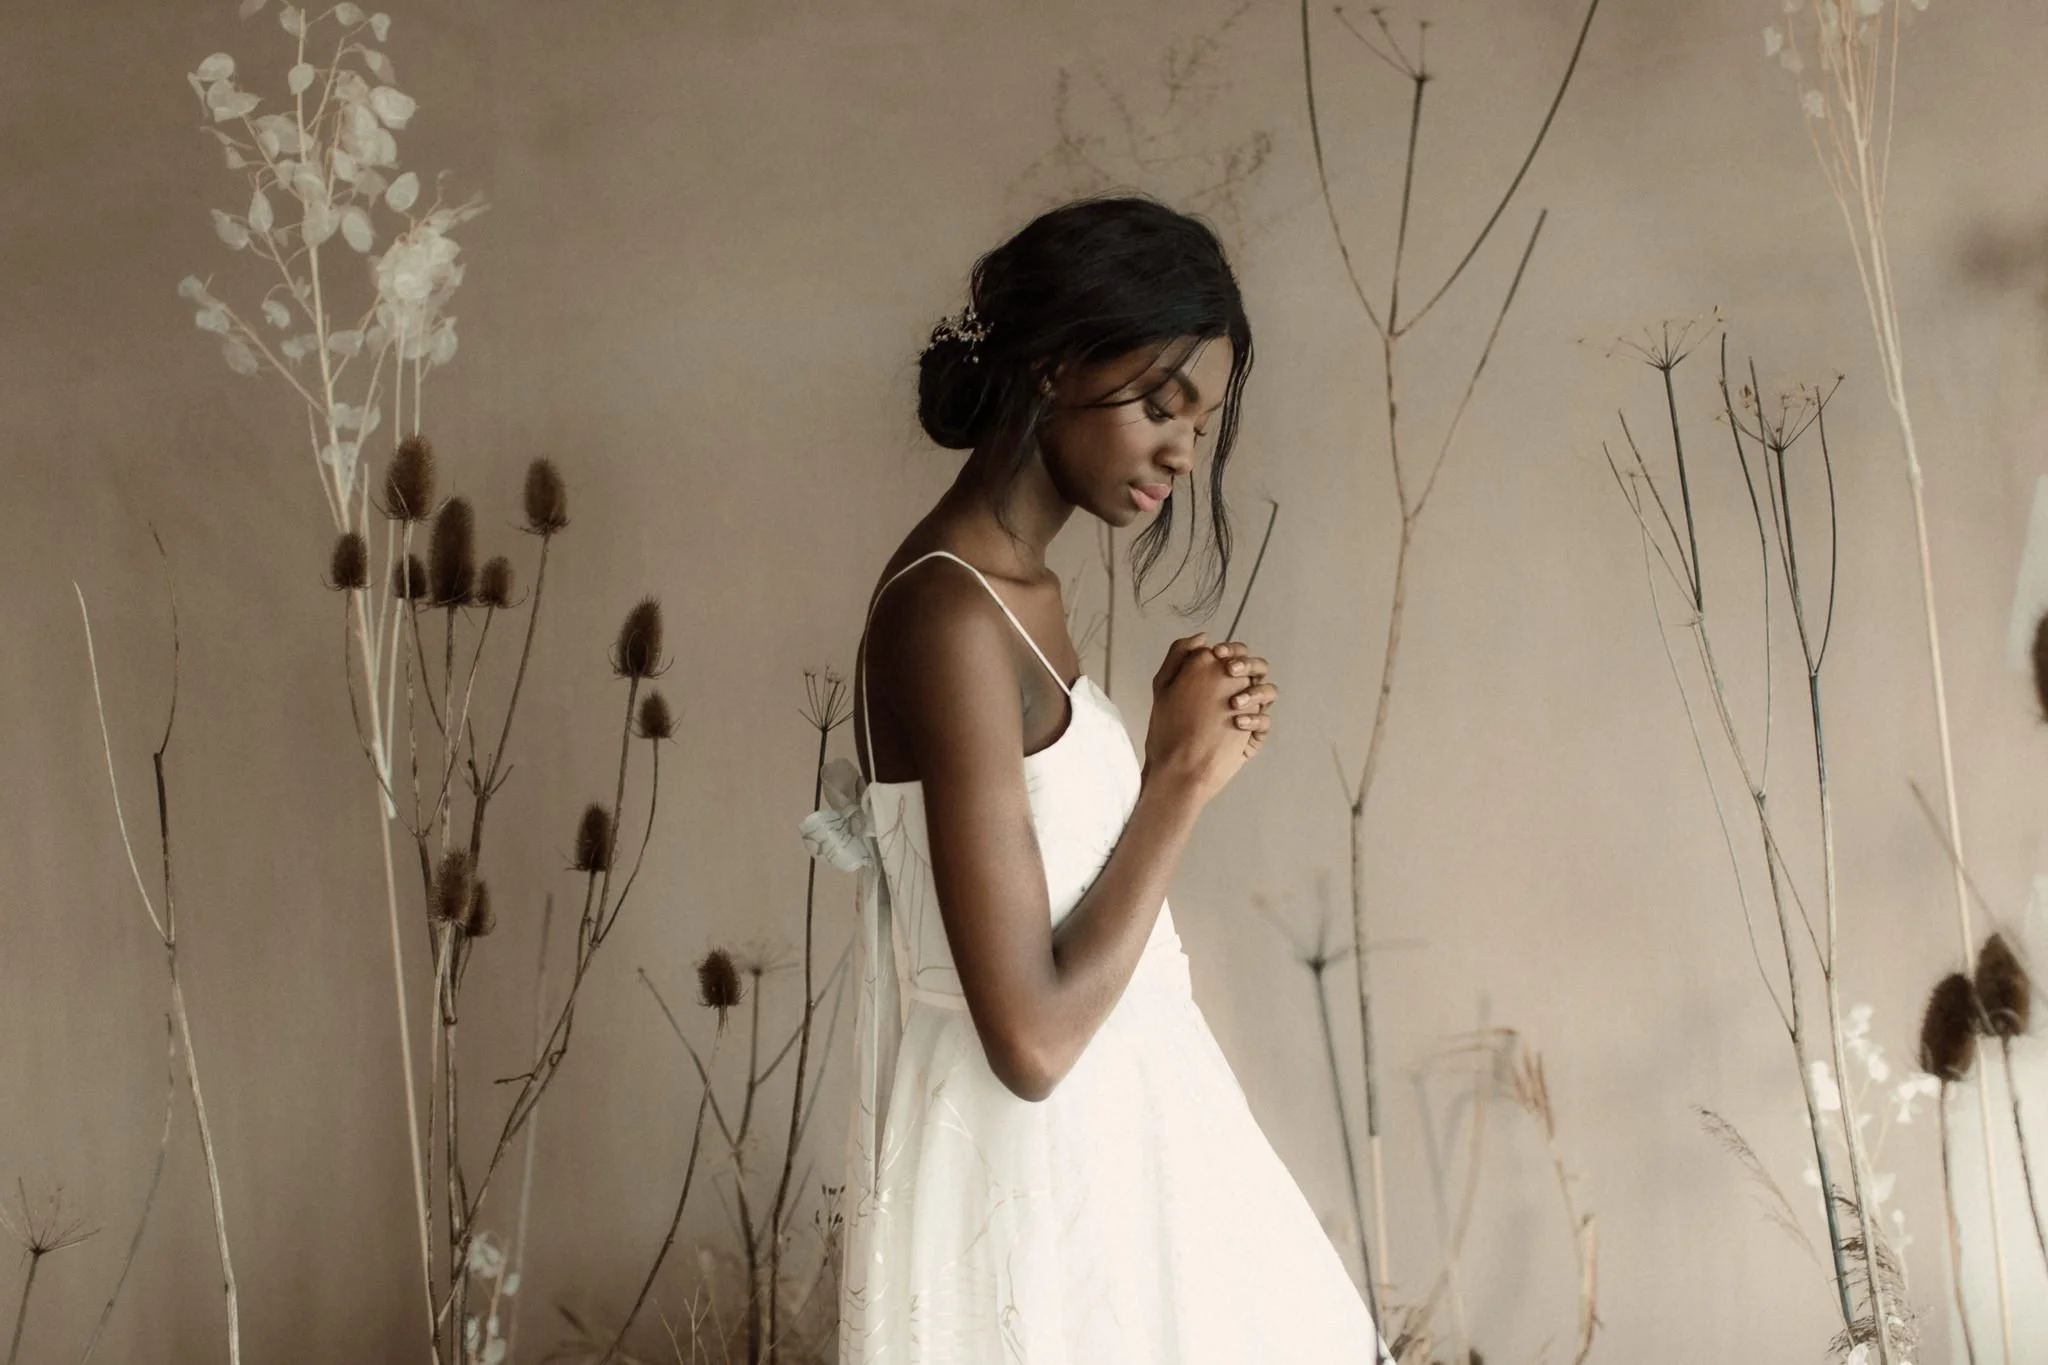
Image by Gail Secker Photography
Edited with Quest 54 Ethereum and Quest Tools 13 - Skintone Toolset
3 Softening Strengths
Finish your edit with one of three softening strengths for a polished, refined result. Build from a light touch to fuller smoothing, layering only as much as the image calls for. This is the last step in a workflow that treats skin like itself, just better.
Choose from: Soften + | Soften ++ | Soften +++
Image by Ieva Marija Photography
Image by Ieva Marija Photography
Edited with Quest 43 Llŷr
Image by Ieva Marija Photography
Edited with Quest 43 Llŷr and Quest Tools 13 - Skintone Toolset
Bonus: Fine-Tune Further with the Portrait Toolset
Want even more control over how you edit skin in Lightroom? The Portrait Toolset from our sister brand, Archipelago Presets, is a full portrait retouching system. It covers skin smoothing, eye brightening, teeth whitening, lip color, hair definition, and more.