3 Easy Ways to Retouch Skin in Lightroom (No Photoshop Needed!)
Skin editing tips every portrait photographer should know
If you photograph portraits, you already know the drill: gorgeous light, great connection with your client, killer composition... and then you get home and zoom in at 100% only to find every pore, blemish, and stray hair staring back at you. Your clients might not be zooming in to 100%, but they expect a level of polish, and you want to deliver… without spending hours to make it happen, and without your photos looking like something out of “Photoshop Fails”.
The good news is you don't need to open Photoshop for most of this. Lightroom's masking and Remove tools have gotten really good, and with a little know-how, you can get natural, editorial-quality skin retouching without ever leaving your Lightroom catalog.
Here are our 3 go-to methods for editing portraits in Lightroom!
1. Smooth Skin with Select Person + Skin Masking
This is the biggest game-changer for editing skin in Lightroom in recent years. Lightroom's AI masking doesn't just find "a subject" anymore; it can isolate skin specifically, leaving eyes, lips, eyebrows, and hair alone.
How to do it:
Open the Masking panel and choose Select People
Within that mask, select the person you want to adjust, or all people
Then, select "Facial Skin" and/or “Body Skin”, depending on what you want to edit
Pull Texture and Clarity down slightly — start around -15 to -30
If skin starts looking too soft, nudge Sharpness back up a touch
The magic here is restraint. You're not going for airbrushed-mannequin skin!! You're just knocking down the harshest texture so skin looks healthy and even. This one adjustment alone can make your portrait retouching look 10x more professional.
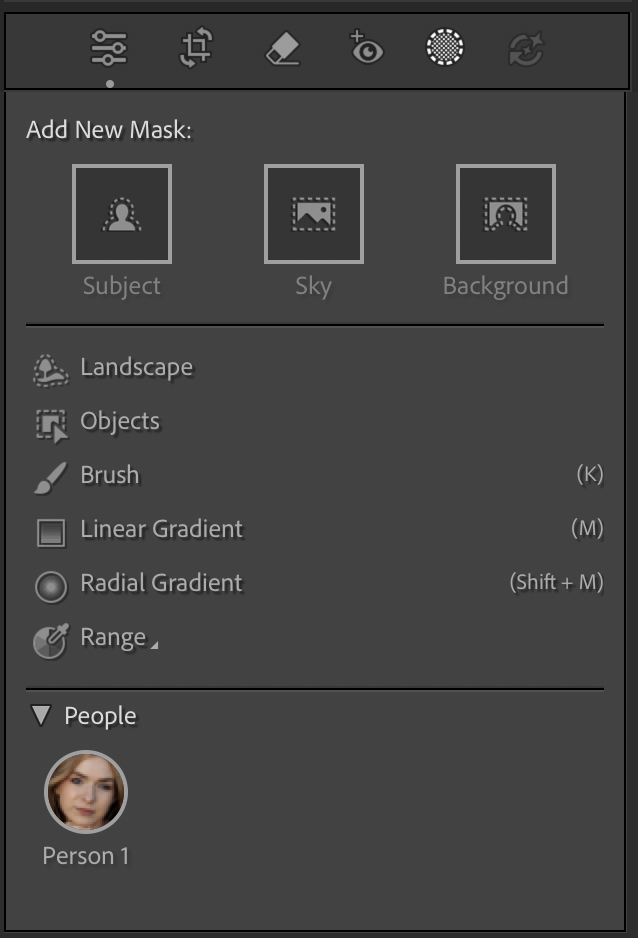
Open the Masking panel and choose Select People
Select the person you want to adjust, or all people, and select "Facial Skin" and/or “Body Skin”
Pull Texture and Clarity down slightly — start around -15 to -30, increase Sharpness
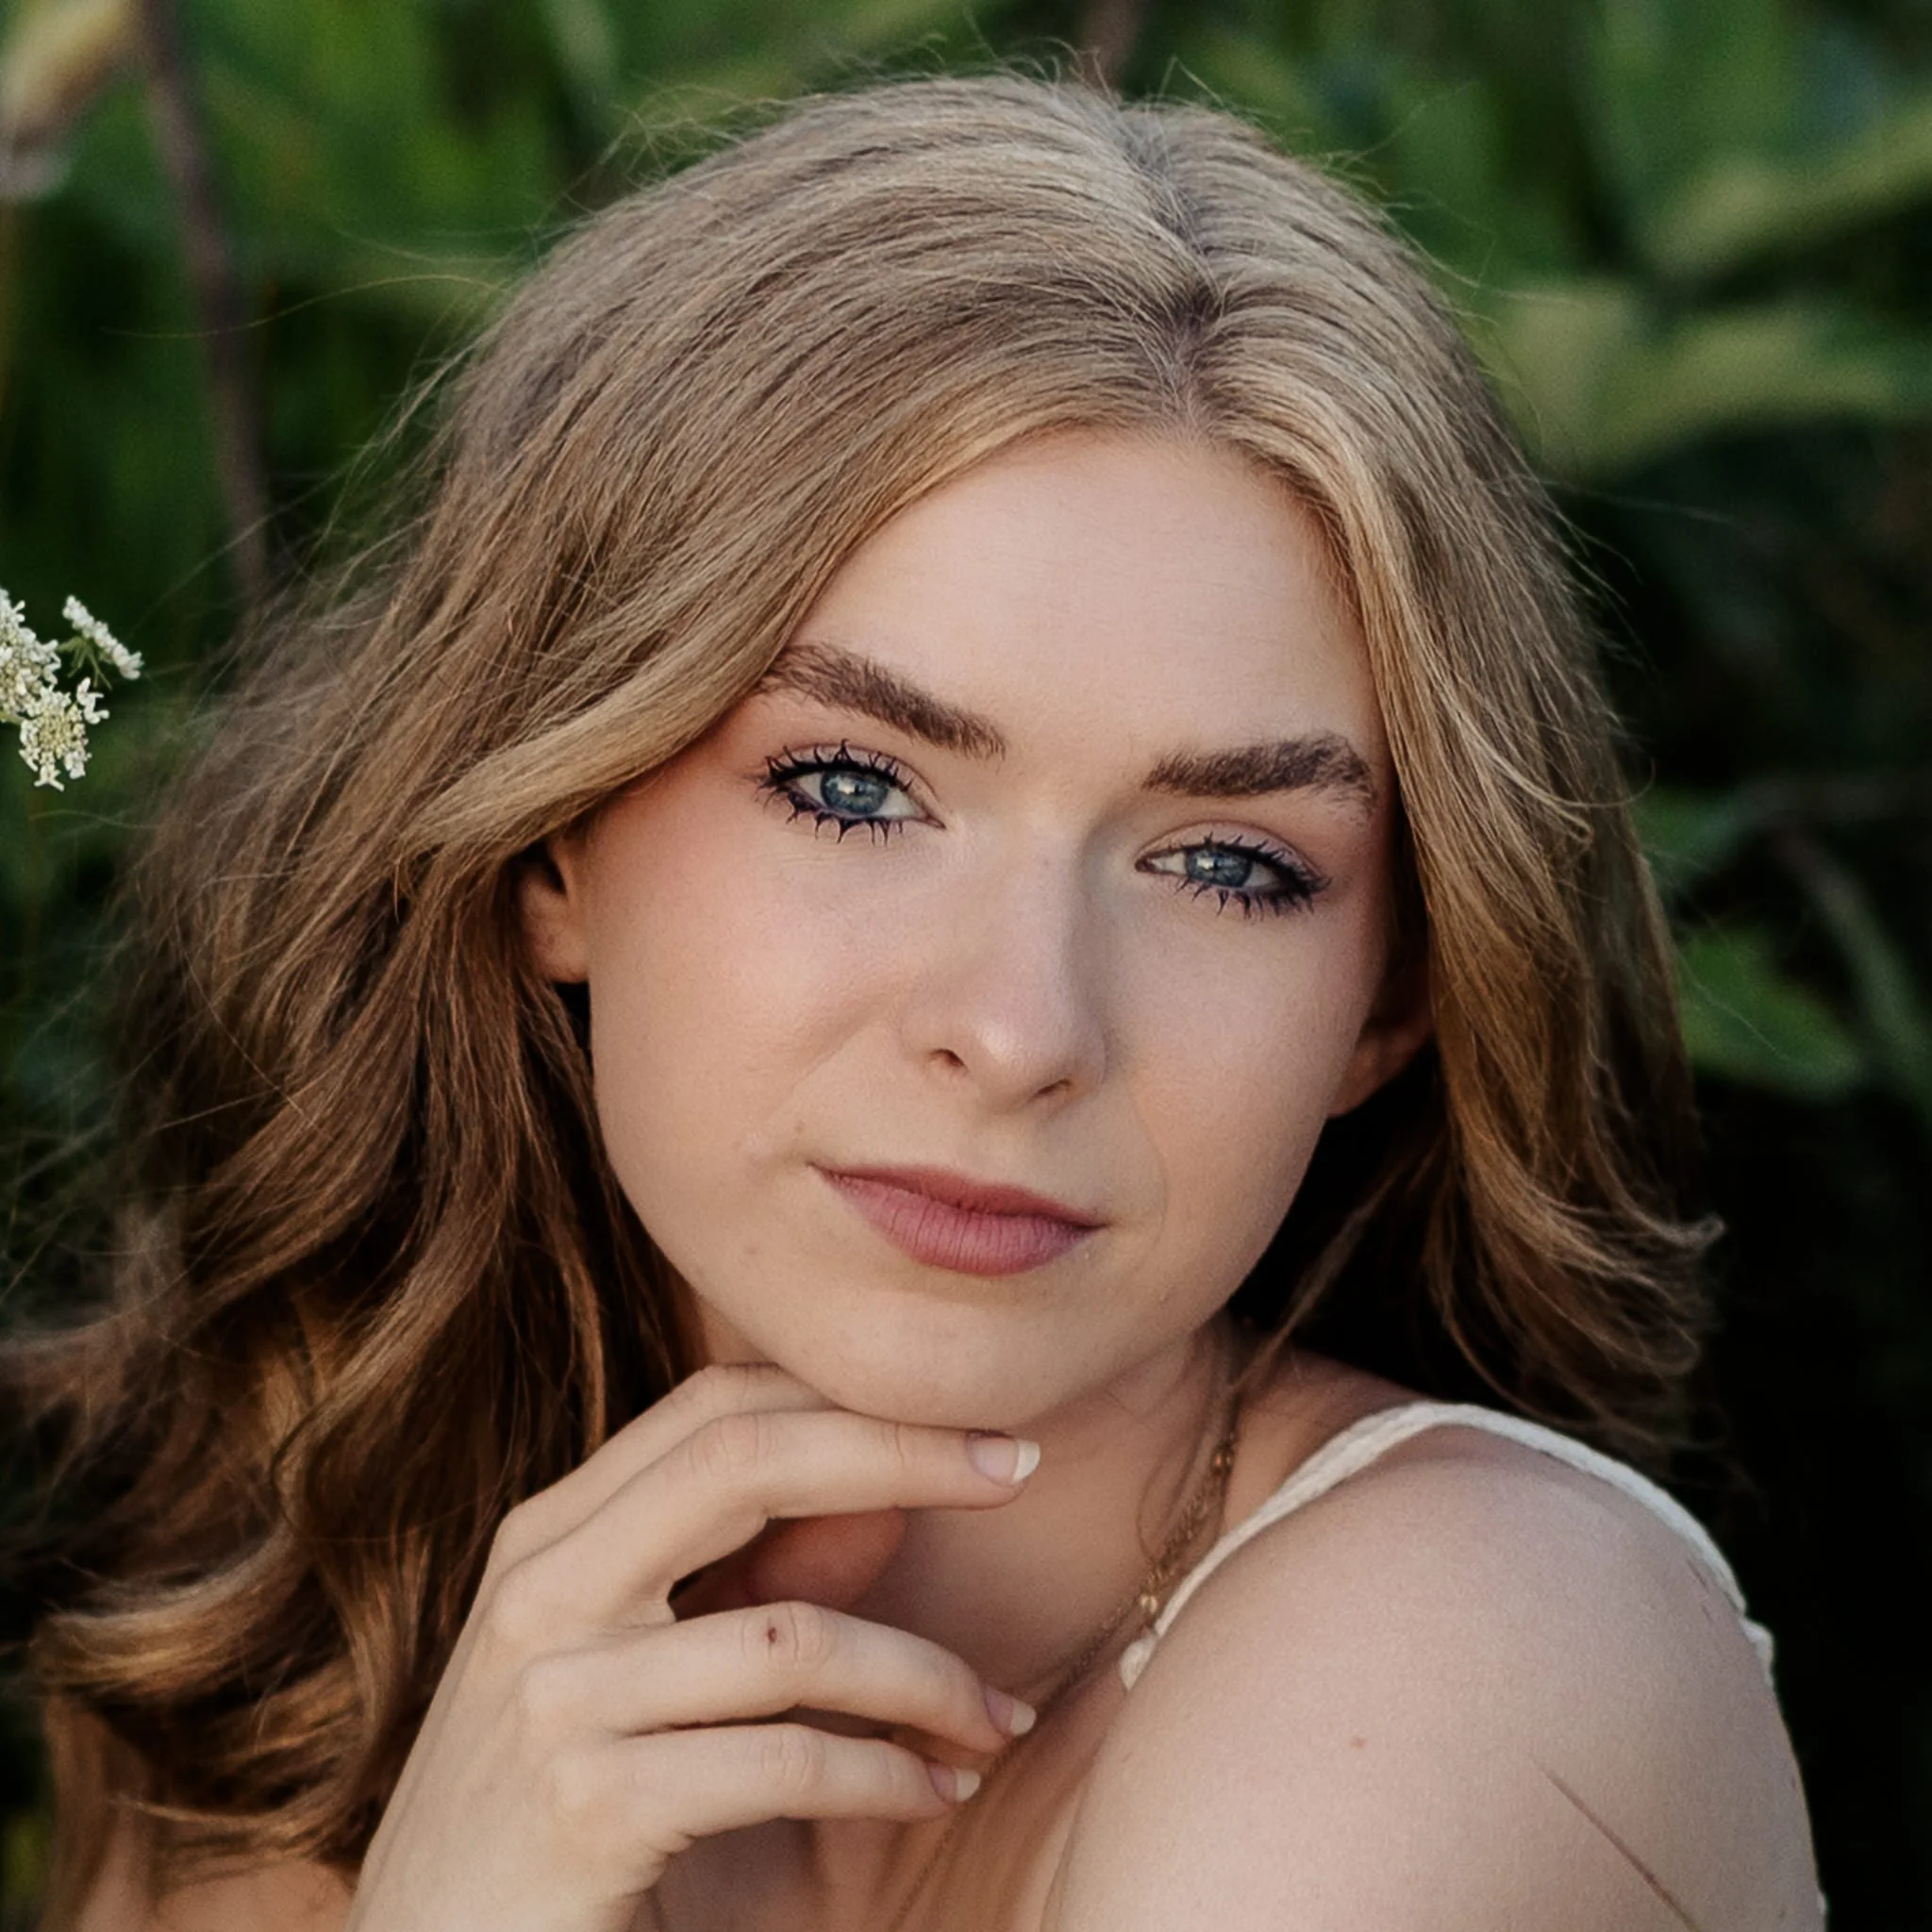
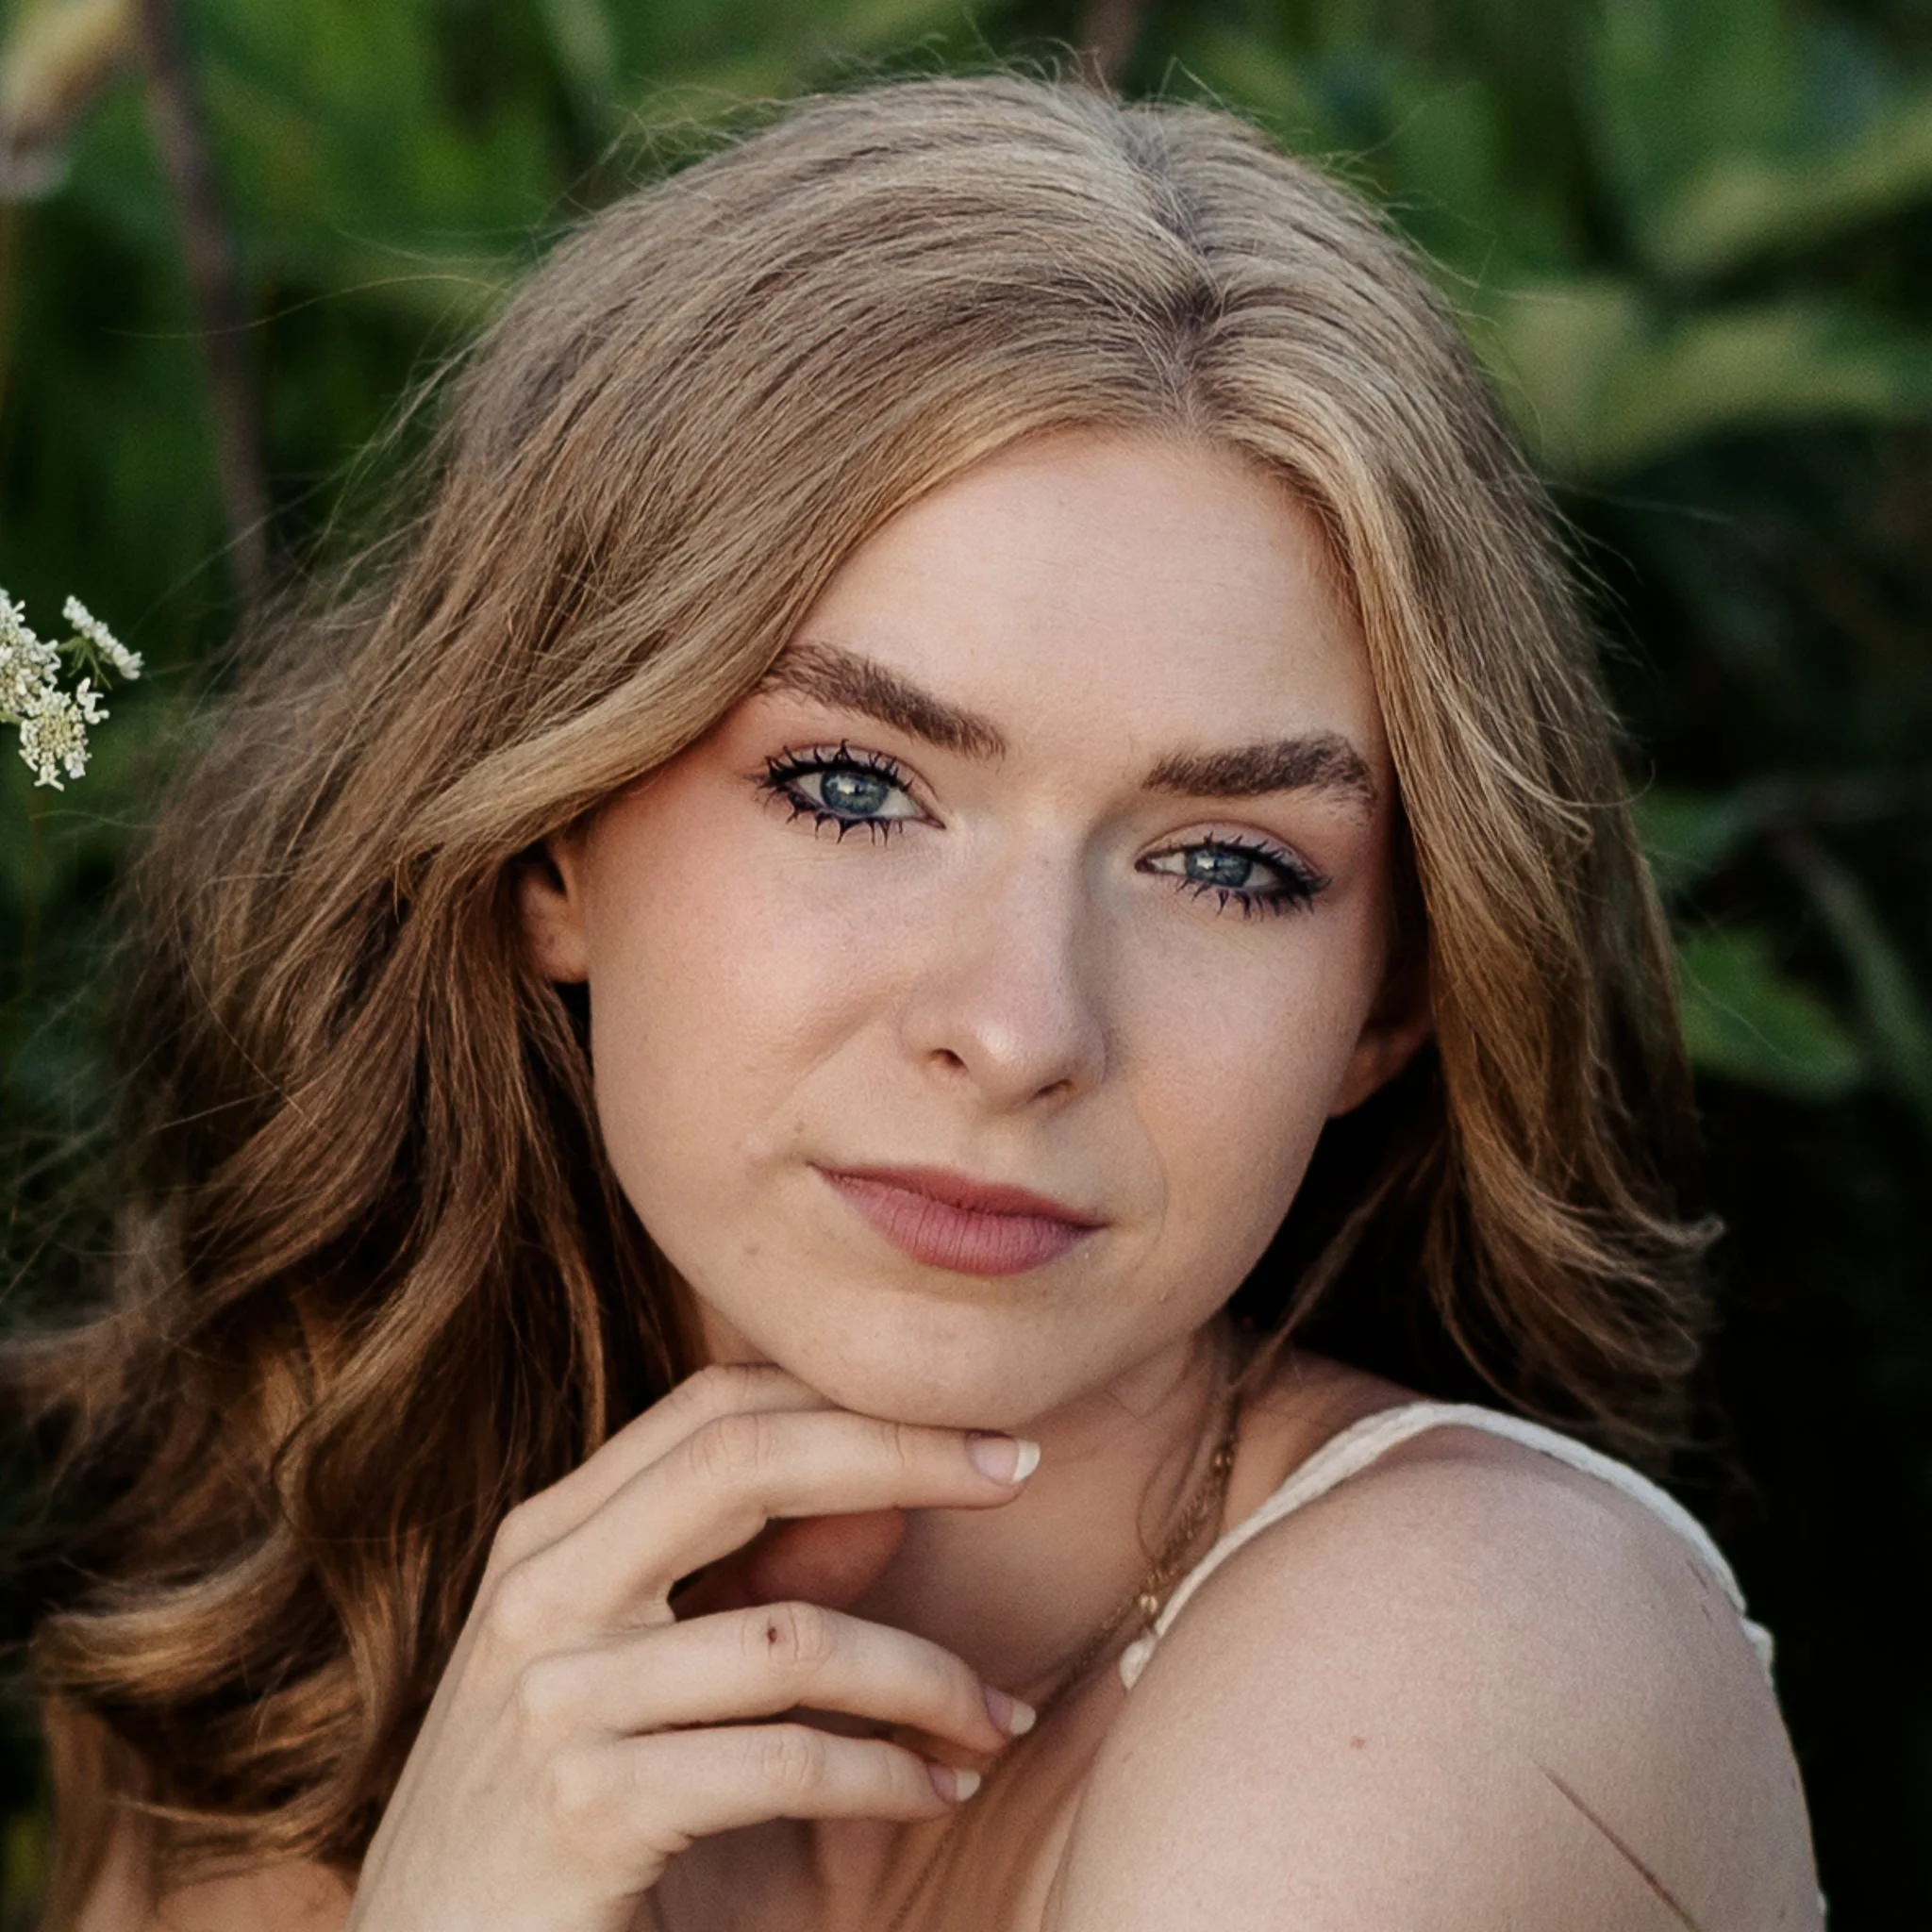
Image by Kate Paterson Photography
Edited with Quest 01 Diffusion
Skin retouch mask on versus mask off
2. Clean Up Blemishes and Stray Hairs with the Remove Tool
Remove tool showing where spots have been removed
Once your overall skin texture is dialed in, it's time to zoom in and deal with the specifics: that one pimple your client begged you to clone out, the flyaway hairs, the little scratch nobody needs immortalized in a print.
How to do it:
Grab the Remove tool (Lightroom's upgraded Spot Removal tool) and set it to Heal
Click directly on blemishes, marks, or stray hairs
For bigger areas (under-eye bags, larger marks), brush over the whole area instead of a single click
Let Lightroom's AI auto-select a source — it's shockingly good at matching texture on its own these days
Pro Tip: You can do this step before your skin-smoothing mask, if you want. If you soften first, the Remove tool has a harder time blending into already-smoothed texture, so you will need to refresh the mask using the AI Edit Status Update icon to the right of the Masking Panel icon that looks like this 🔄.
You can also hide your skin smoothing mask if it’s difficult to see the imperfections with it on, or hide any Grain you have applied to better see the spots you want to retouch.
Remove panel
Update Masking when pairing Mask + Remove
Pro Tip: If you struggle to see the blemishes and spots, toggle on Visualize Spots to have an easier time finding them when you are using the Remove tool.
Visualize Spots showing where blemishes are to easily edit them
Image by Gerard Moral
Edited with Quest 01 Diffusion
Click to Enlarge
Image by Gerard Moral
Edited with Quest 01 Diffusion, added subtle Skin Smoothing Mask and Used Remove Tool on Spots
Click to Enlarge
3. Even Out Skin Tone with Targeted Dodge & Burn
This is the step that separates "nice edit" from "wow, did you hire a retoucher?" Dodge and burn adds subtle light and shadow shaping that evens out tone and gently sculpts the face.
How to do it:
Create a new Brush or Radial Gradient mask over specific zones — shiny forehead, dark under-eyes, uneven cheeks, or places you want to emphasize the light and dark on the skin
For shiny areas: lower Exposure slightly and reduce Highlights
For under-eyes: raise Exposure slightly and reduce Highlights to soften shadows
Paint “light” and “shadow” using Exposure, Highlight, and Shadow adjustments on the high and low places of the face to enhance.
Feather your mask generously and keep every adjustment subtle — small moves add up fast. You can also adjust the Flow of your brush to build the effect up over several brushstrokes.
This is the step most photographers skip, but it's often the one clients notice most (even if they can't say why the photo looks so polished). That said, keep it subtle! You’re not trying to make a digital painting.
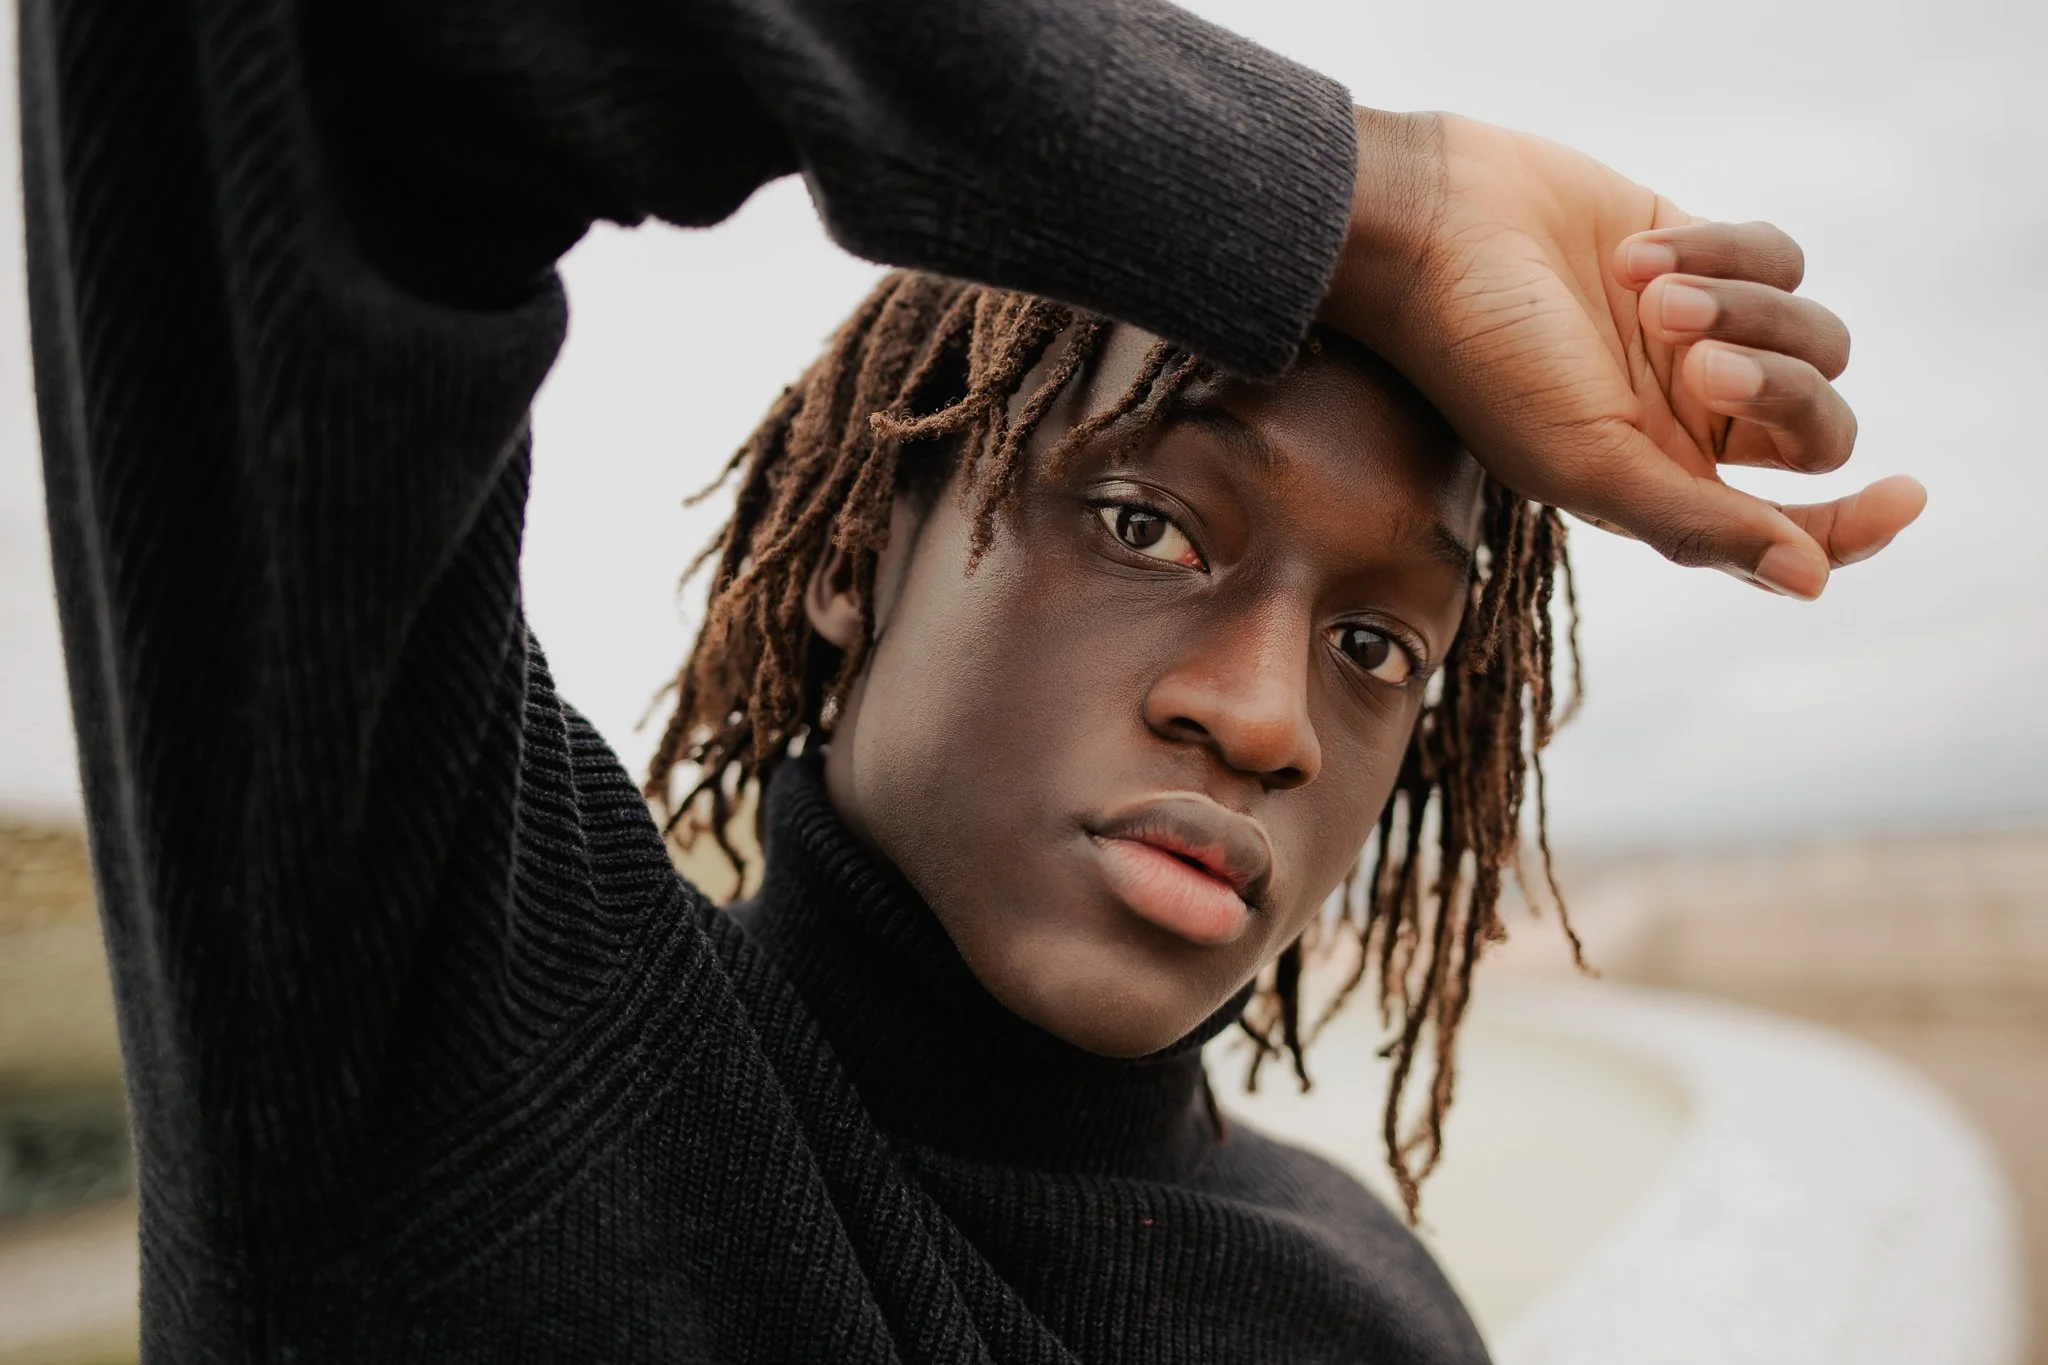
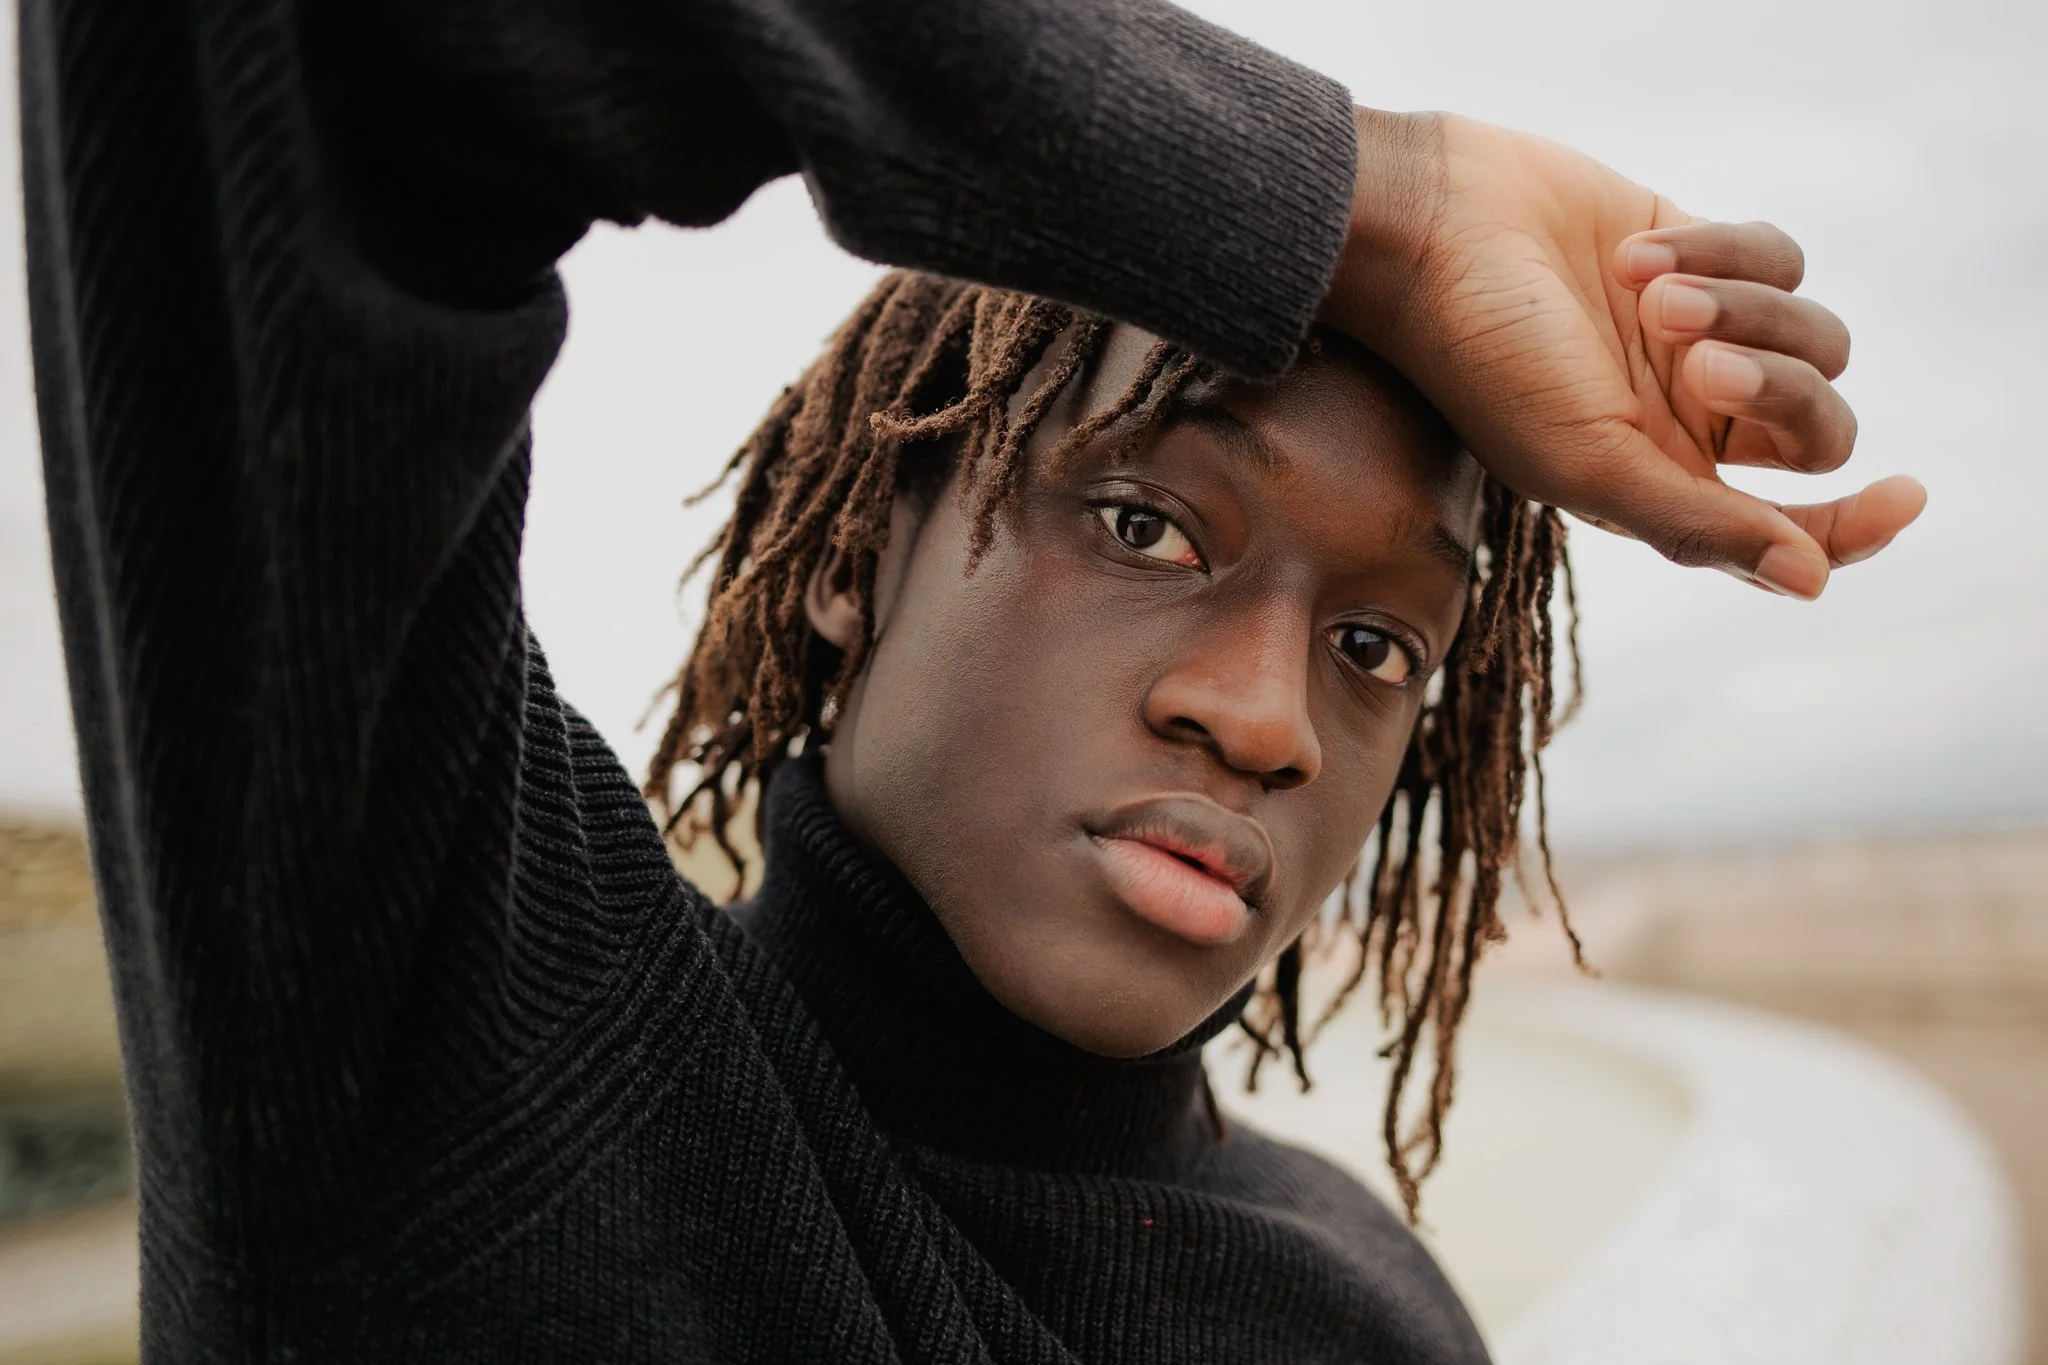
Image by Gerard Moral
Edited with Quest 01 Diffusion, subtle Skin Smoothing Mask, Remove Tool on Spots, Dodge & Burn Masks to “paint light” on skin
The effect here is less subtle so you can see the difference
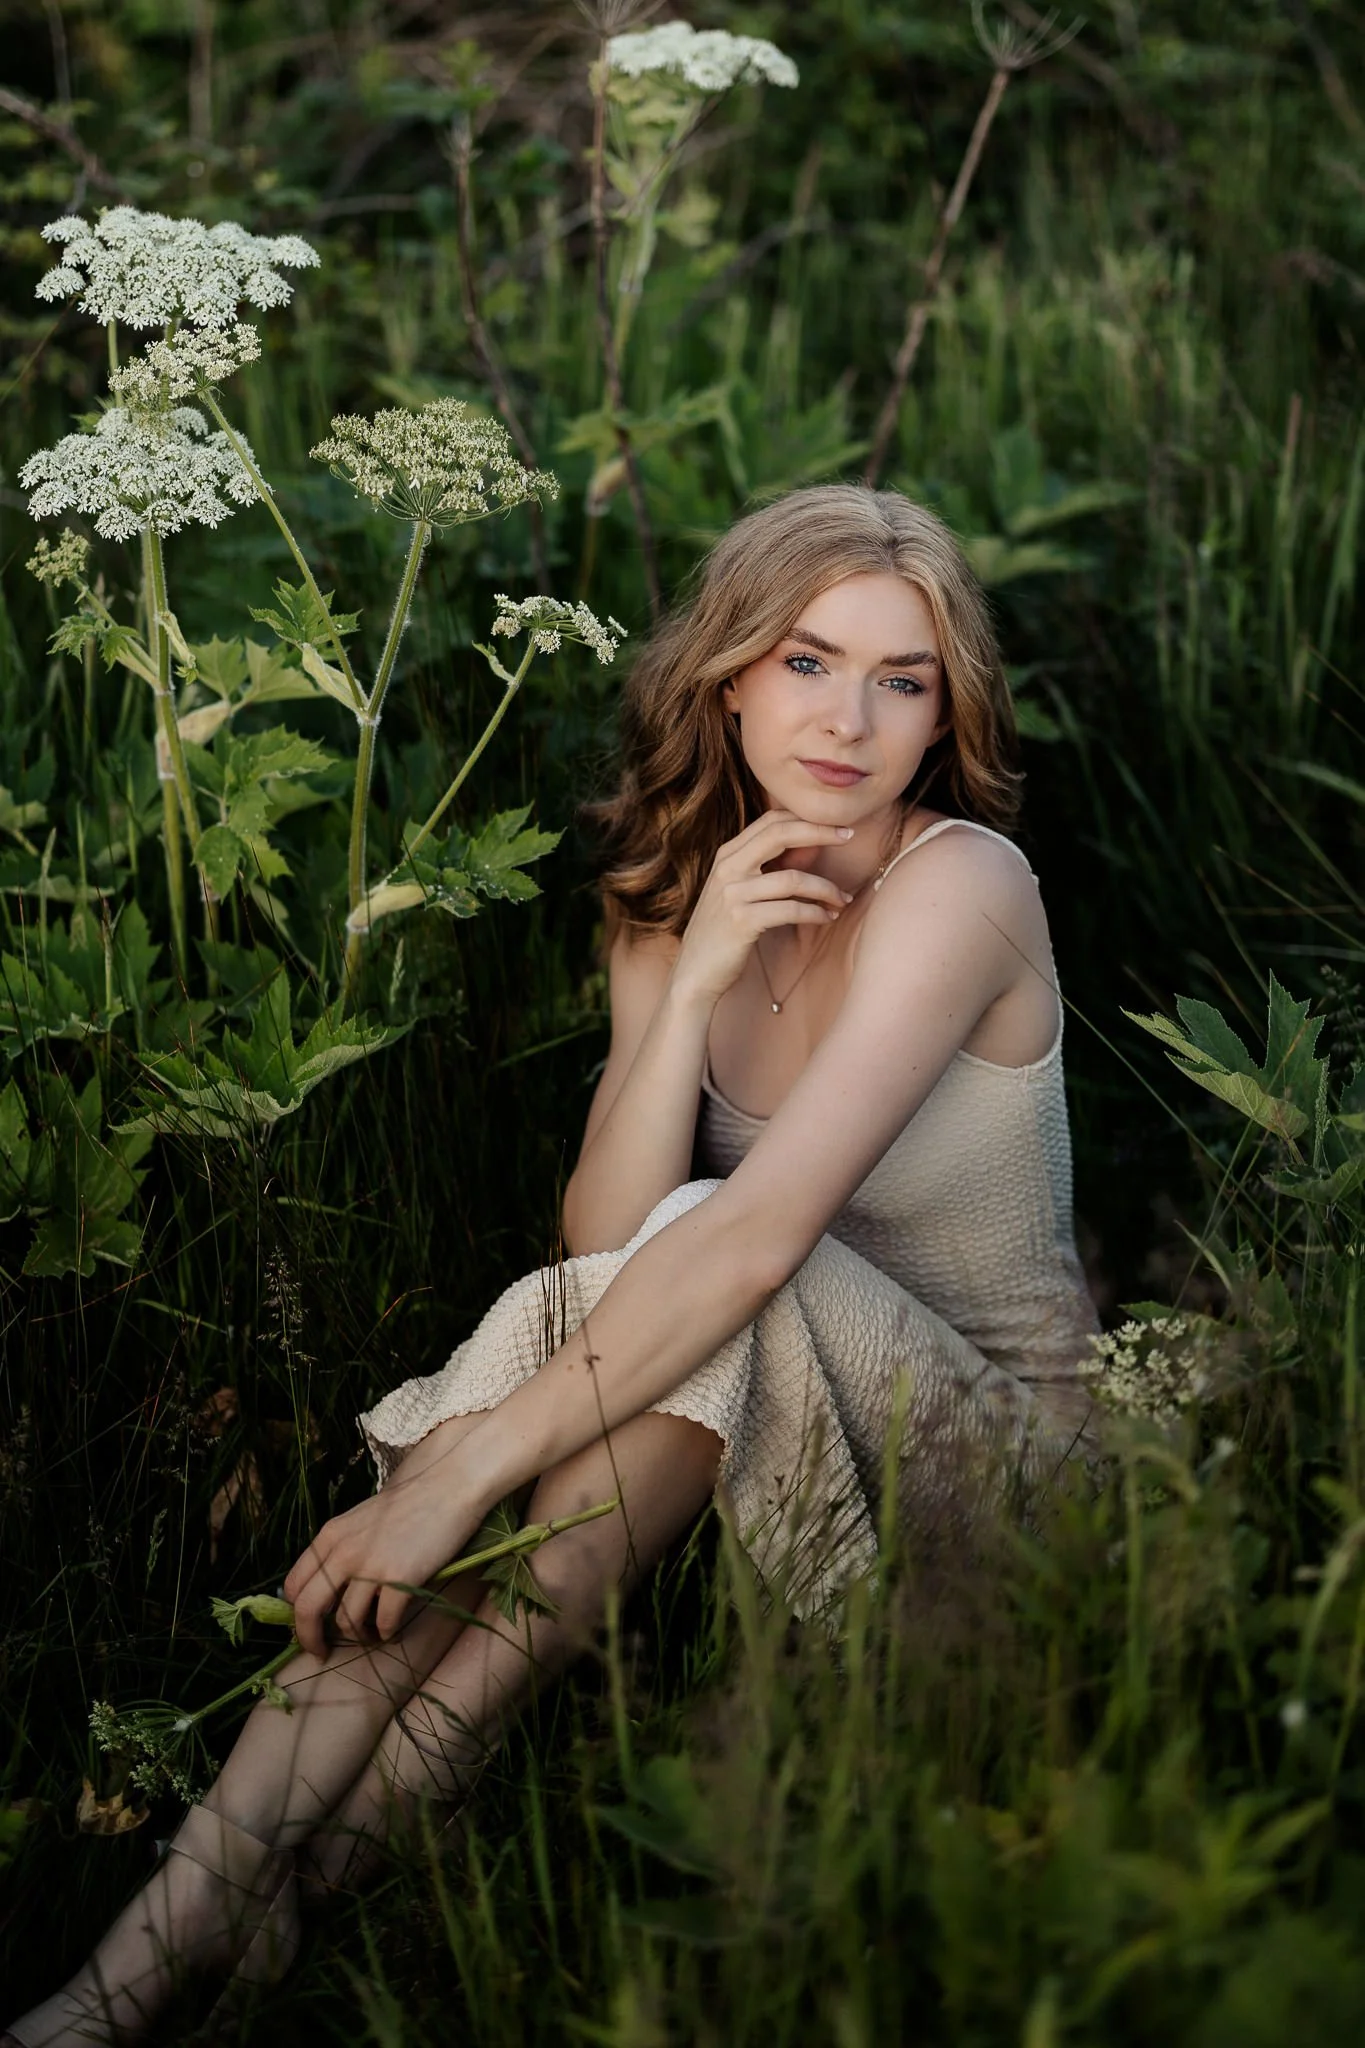
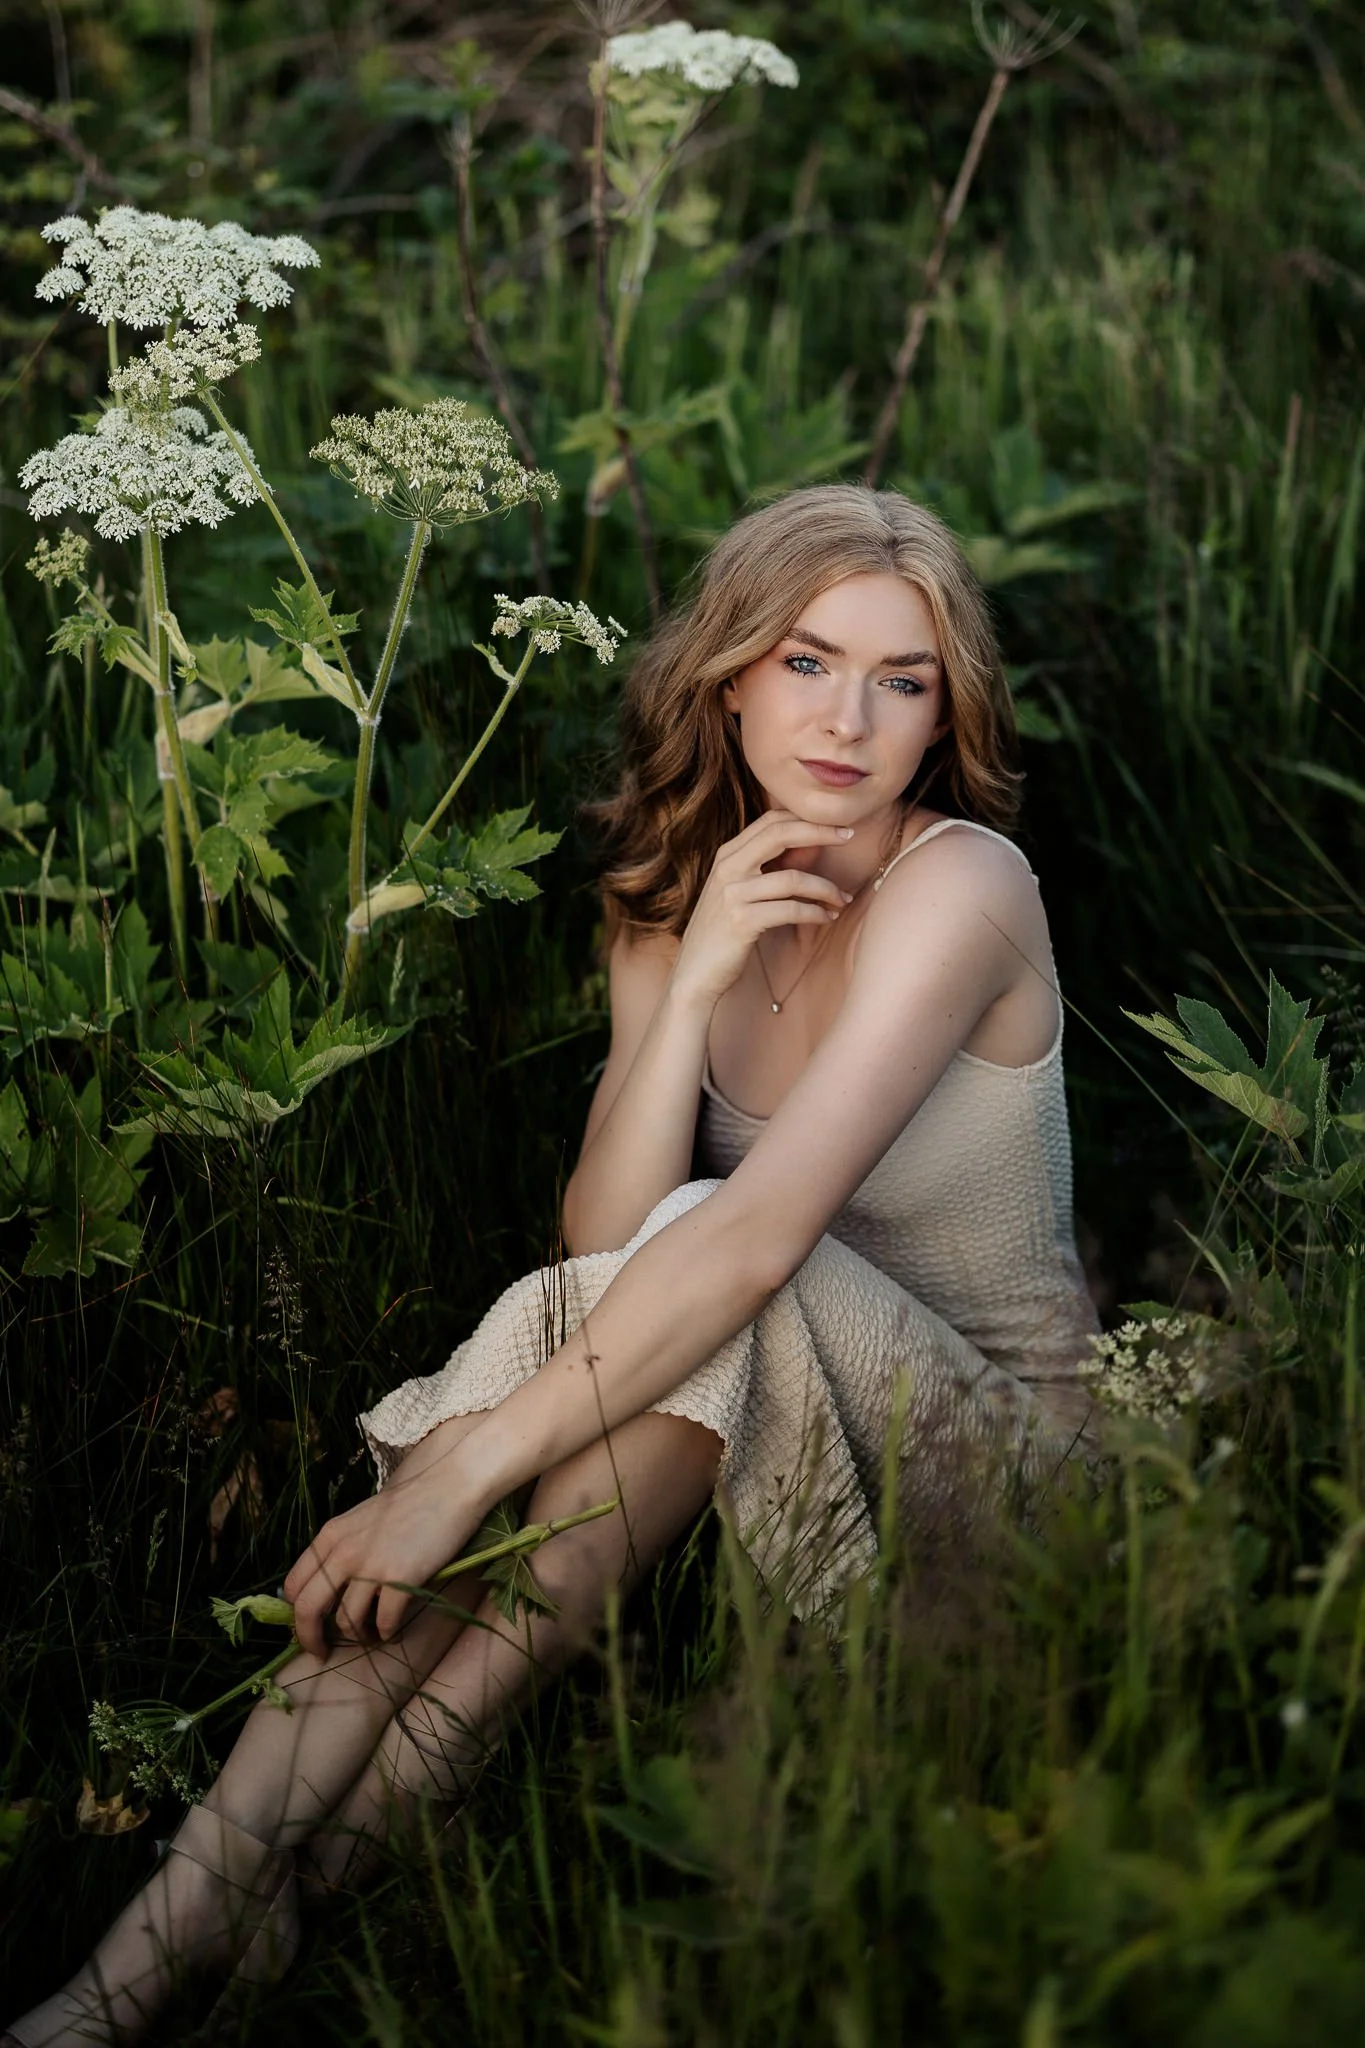
Image by Kate Paterson Photography
Edited with Quest 01 Diffusion, Skin Smoothing Mask, Remove Tool on Spots, Dodge & Burn Masks to “paint light” on skin
Bonus Tip: Don't Skip the Detail Panel
Detail panel with Sharpening and Luminance adjustments
Here's something a lot of photographers overlook: noise can wreck good skin retouching before you even get to masking. Grain and digital noise create fake "texture" that fights against every smoothing adjustment you make, so it's worth taking a pass through the Detail panel before (or alongside) your skin work.
How to do it:
Check your Sharpening settings first — too much sharpening can actually exaggerate pores and skin texture, so back it off slightly on portraits (a Masking slider bump here helps sharpening avoid skin and target eyes/hair instead)
Adjust Luminance noise reduction to smooth out that speckled, grainy look, especially on images shot at higher ISOs
If noise is still an issue after that, use Denoise (Lightroom's AI-powered noise reduction). It does a much cleaner job than manual sliders on really high-ISO or low-light portraits (sometimes it’s downright magical).
Cleaning up noise here means your skin mask in Step 1 has less "false texture" to fight against, so your smoothing looks more natural and you don't have to overdo it.
Presets that Do it For You
Image by Duane Smith Photography
Edited with Quest 59 Veralux, Skin Softening from Quest 37 Soraya
Sometimes, a one-click solution is the best one when you’re editing hundreds (or thousands, yikes) of photos, and it’s a good place to start to sync your edits to fine tune after. These Lightroom presets and tools give you skin retouching without having to customize your masks yourself!
Quest 37 Soraya with its Skin Softening tool.
Quest 45 Atelier with its Enhance Skin and Enhance Features tools.
Quest Tools 13 - Skintone Toolset is built to help with a myriad of skin retouching solutions, from the skintone itself to softening tools and more.
The Portrait Toolset from Archipelago Presets is a toolset built for skin retouching and enhancements!
Quick Recap: Skin Retouching Workflow in Lightroom
Detail panel → manage sharpening and noise/Denoise first, so noise doesn't fake extra texture
Remove tool → fix blemishes and stray hairs
Skin mask → smooth overall texture with Select Subject + Skin
Dodge & burn masks → even out tone and add gentle shape
Follow that order and you'll get clean, natural portrait retouching without ever needing a separate retouching app.
Got a favorite Lightroom skin-editing trick of your own? We’d love to hear it — drop it in the comments!