Tips for Photographing and Editing Harsh Light
Harsh Light… we love to hate it. Photographers often have no choice with photoshoots or wedding timelines when it comes to the schedule and location, leading to us photographing in our least favorite lighting: harsh sun.
Try out these tips during your next session in harsh light and editing tips to use when you get back to your computer to edit your harsh light images!
Tip: Lean into or away from the sun
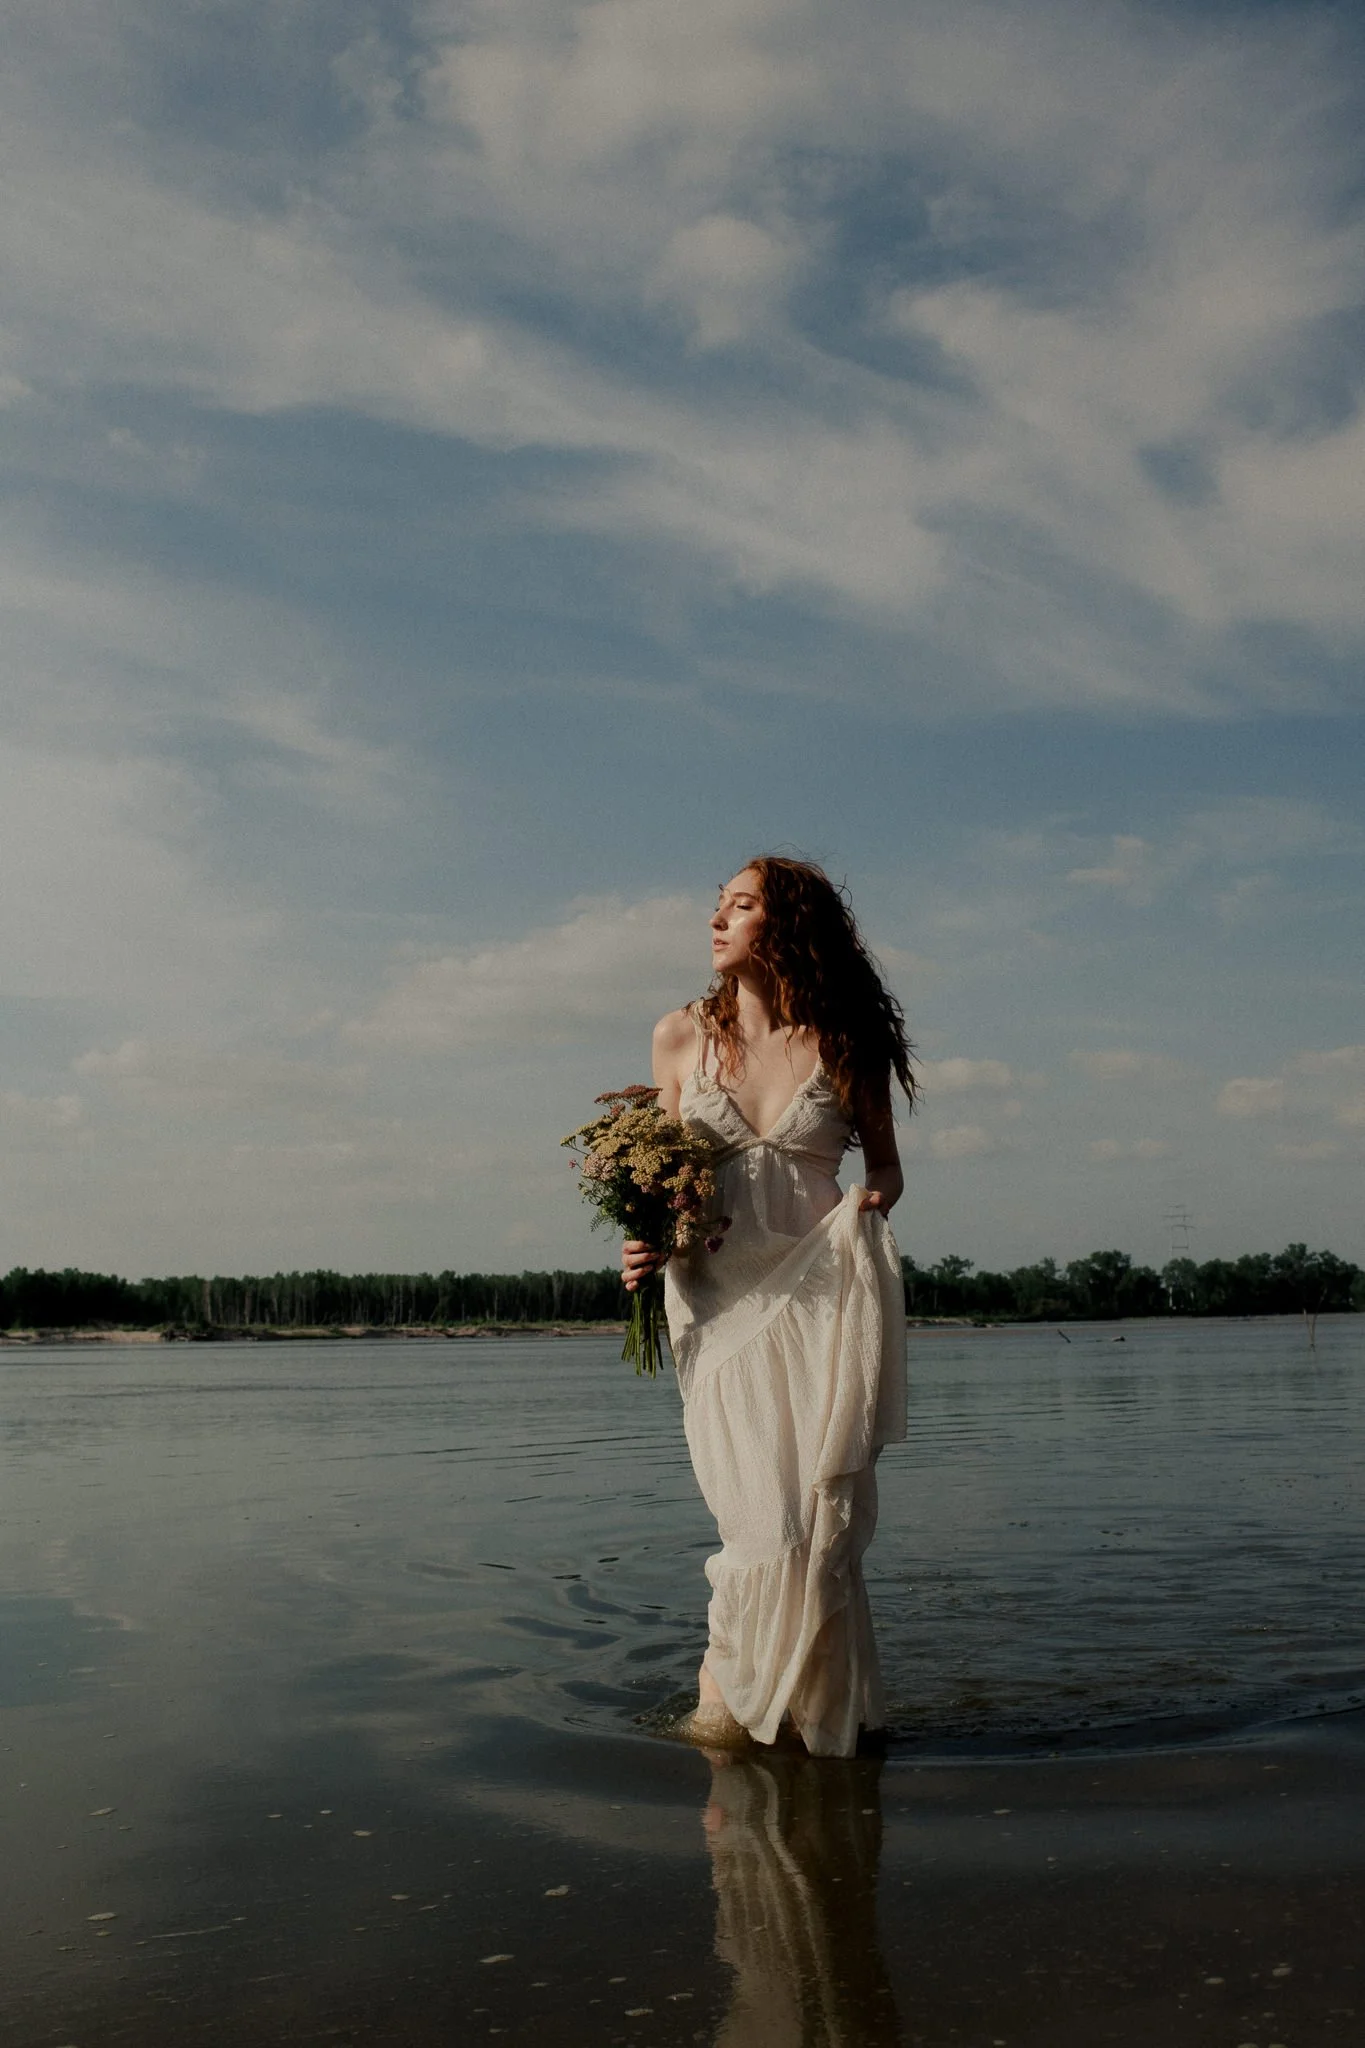
To avoid unflattering shadows on your subject’s face from overhead sun, have them tilt their face either up to the sky in the direction of the sun OR down and away from the sun.
You can use tools in Lightroom like Skin: Restore Tone from the AI Portrait Toolset to bring detail back to the highlights in overexposed circumstances or Subject - Face & Body Exp + from Quest 25 Fable Presets to bring out detail in the shadows.
Image by Ramblincowgirl
Edited with Quest 26 ZIA, Background Temp, Dreamy from Quest 15 Opalescent
Image by Ramblincowgirl
Edited with Quest 25 Fable, Drama, Subject - Face & Body Exp +
Tip #2: Use the sun to create interesting shapes and shadows
Make the sun do the work for you! Add creative shadows on your subject by placing an object or architectural detail in between your subject and the sun to create interesting shadows.
Image by Cecilie Bannow
Edited with Quest 26 ZIA
Image by André Gil
Edited with Quest 27 Serenus, Crisp White, Tilt Shift Middle
Tip #3: Embrace silhouettes
Use the bright sun or bright sky behind your subject to frame them in silhouette— you can either keep them in a higher contrast silhouette or when editing, raise your shadows to bring detail back to your subject!
Image by André Gil
Edited with Quest 22 Glacial
EDITING TIPS
Harsh light enhances 3 main components of your images:
Contrast
Texture
Saturation
When editing, decide whether you want to downplay the effects of these components or keep them.
In this editing tutorial, we go over how to edit your harsh light images and tips and tricks to help you work with the intensified contrast, texture, and saturation in your images!
Join preset developer Liam as he live-edits raw files submitted by the community, focusing on how to edit photos shot in harsh light. As always, we'll be doing a preset giveaway in the chat during the stream, so be sure to hit that notification bell and join us live!
Image by My.Favourite.Human
What is your favorite way to embrace or adjust for harsh light? Tell us in the comments!


